Want a cutting board project that’s actually beginner-friendly? This simple walnut face grain cutting board is a clean start-to-finish build: cut, glue, sand, and finish with a food-safe oil — no epoxy, no fancy extras.
If you want to make your first cutting board, this is the one I’d start with.
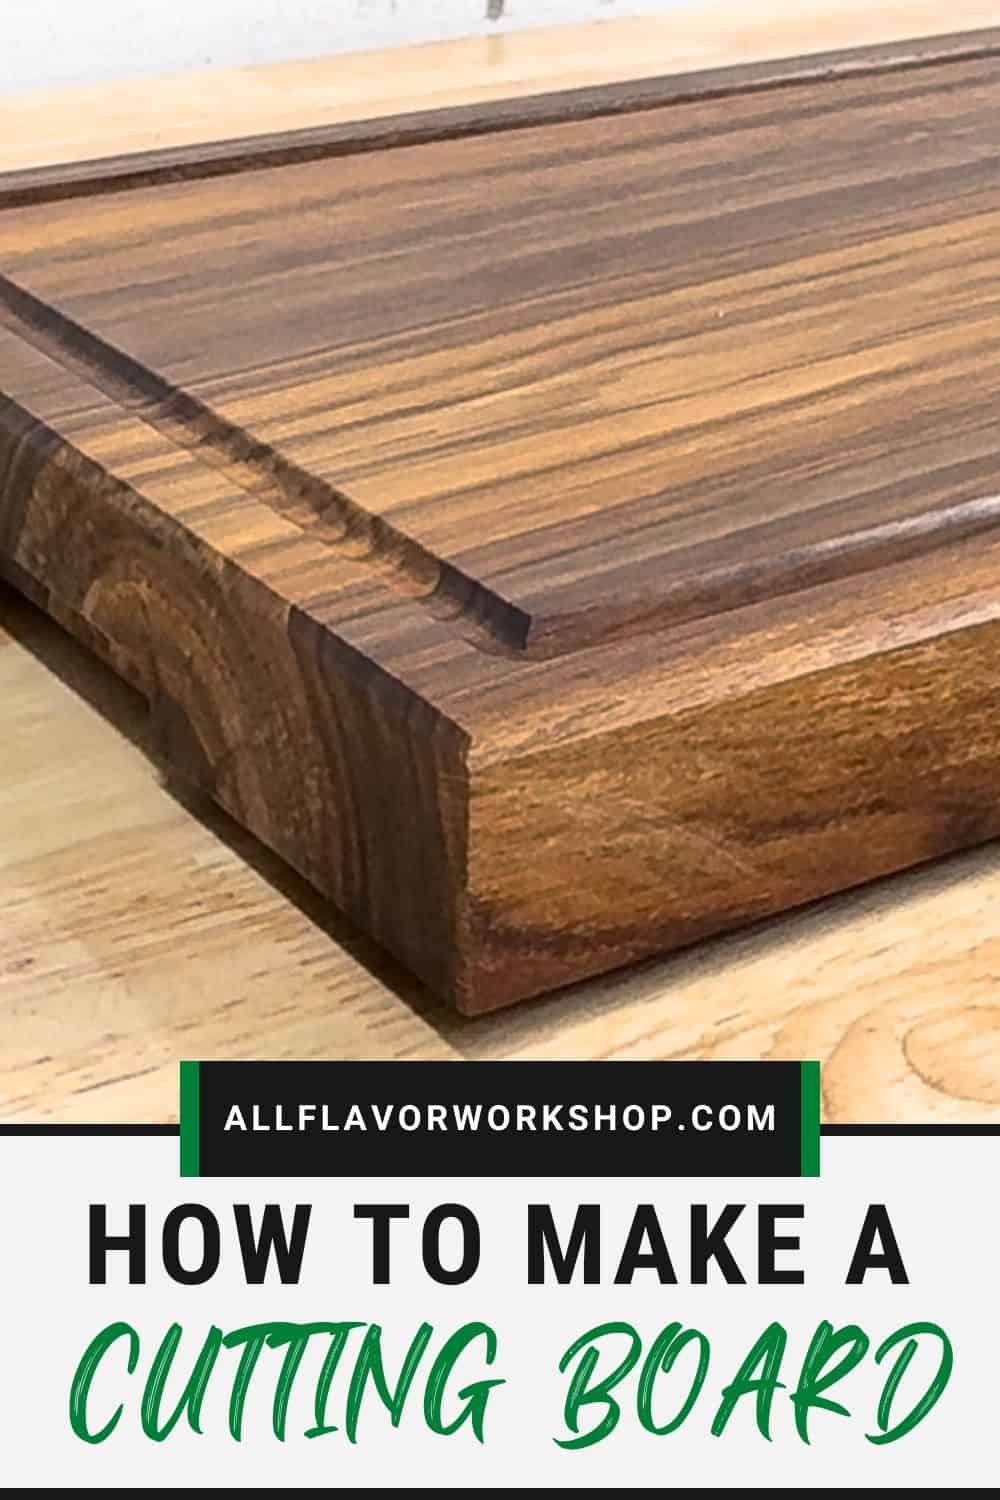
A simple face grain board is (in my opinion) the easiest cutting board project you can build — but it doesn’t have to look basic. This one has all the “pro” features people expect: a juice groove, rounded edges, side handles, and rubber feet. So you get the simplest cutting board style to make… yet it still looks finished and kitchen-ready.
I’m building mine from a walnut slab, and it had a few imperfections (small cracks + a slight twist). In the first step I’ll show how I prep the wood so it becomes a stable cutting board blank. If you don’t have access to a slab, just buy a pre-milled/S4S walnut board, and you can jump right into sizing.
Even if you’re new to woodworking, don’t overthink this build. The workflow is simple, the board comes together fast, and walnut is very forgiving to work with. Once you finish this one, you’ll have the confidence (and the process) to move on to edge-grain and eventually end-grain boards.
Let’s Start Building! (Step-by-Step) Step 1: Prepare and Clean Up the Walnut Slab (Cracks + Cup) Step 2: Cut the Board to Final Dimensions Step 3: Cut the Juice Groove Step 4: Bevel the Edges and Cut the Side Handles Step 5: Sand, Oil, and Add Rubber Feet
This post contains affiliate links. If you buy through them, I may earn a small commission at no extra cost to you. Thanks for supporting AllFlavor Workshop!
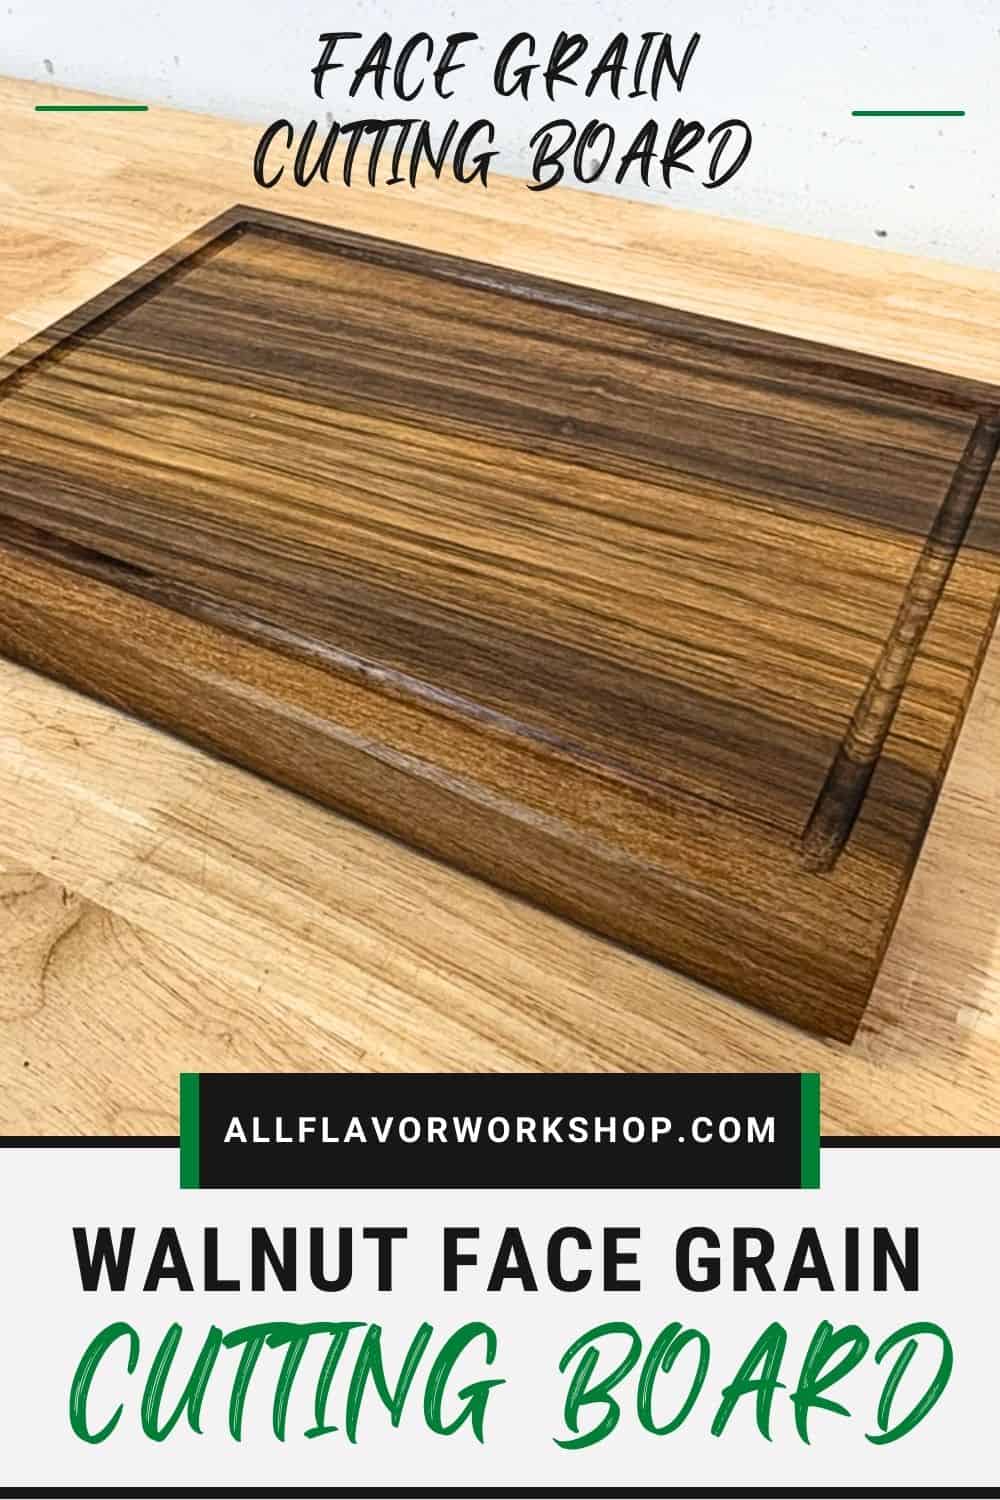
📌 Ready to build it? Save THIS PIN to your Board on Pinterest!
Walnut Cutting Board for Beginners — simple face grain build from start to finish.
Do You Need a Planer or Jointer to Make a Cutting Board?
No — you don’t need either one. A planer and jointer are honestly more of a luxury for cutting board builds. They make the process faster and more comfortable, but you can absolutely build a great board without them.
In this build I’m using a planer, mainly because it’s quick, and with face grain there’s usually much less chance of tear-out compared to some other cutting board styles. Also, my walnut slab had cracks on the ends anyway. A planer typically eats up a bit of length because of snipe (often a few centimeters on each end), so I simply used those cracked ends as sacrificial waste.
If I wanted to keep the entire board length (including the ends), I’d skip the planer and flatten it with a router flattening jig instead — you can see me doing that in other projects. It’s a great alternative and it works especially well when your stock is slightly twisted.
What about a jointer?
Same answer: not needed. For edge straightening you have a few solid options:
Table saw + jointer sled (this is what I’m doing here to straighten the slab edges during prep)
Once you get one straight reference edge, everything after that becomes simple (final sizing, glue-ups, routing, etc.).
If you want perfectly straight edges without owning a jointer, take a look at my Jointer Sled for Table Saw tutorial.
Let’s Start Building!
This build is basically four phases: prep the walnut, cut it to final size, add the router features, and then sand + finish.
I used a planer for this one (but you don’t have to), and I sized the board on a table saw (a circular saw works too). The one tool I consider a must here is the router, because that’s what gives you the juice groove, clean edges, and comfortable handles.
In the next steps, we’ll start by fixing the slab imperfections, then I’ll walk through each feature one by one.
How to Make a Simple Walnut Cutting Board
Step 1: Prepare and Clean Up the Walnut Slab (Cracks + Cup)
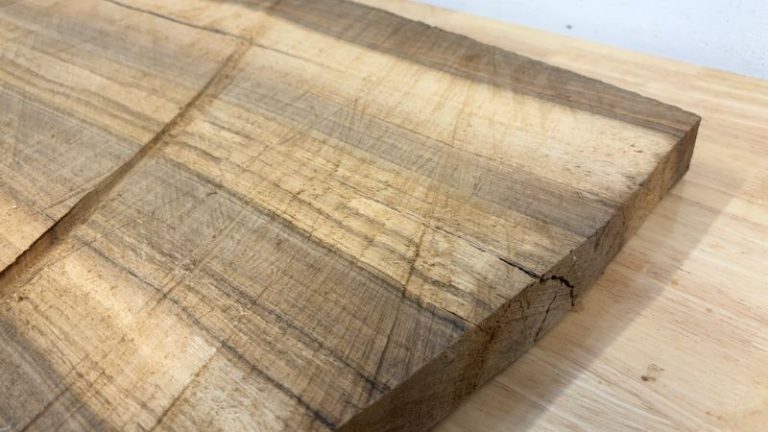
I’m starting with a rough walnut slab that’s not quite ready to become a cutting board yet. Mine had cracks on both ends, a couple of smaller cracks along the length, and it was also slightly cupped.
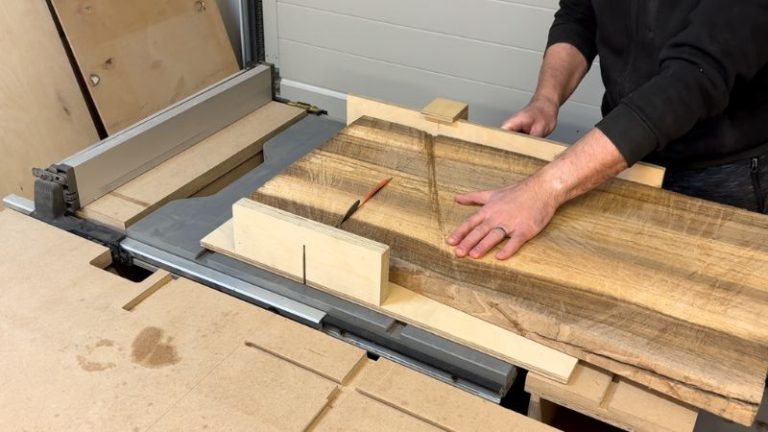
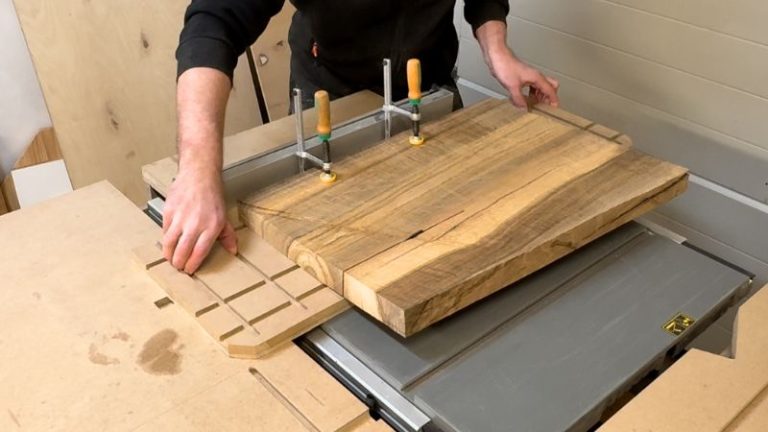
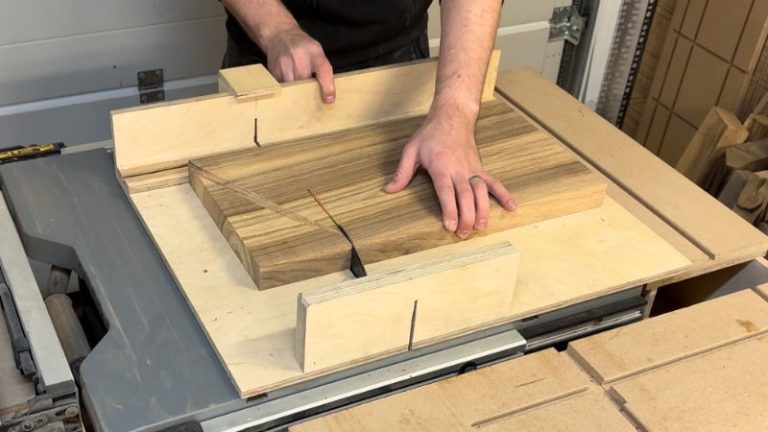
First, I make the slab easier (and safer) to work with by trimming off the cracked ends using my table saw sled. Then I straighten one long edge with a table saw jointer sled — and at the same time, I remove the main crack that was running along the slab. This gives me a clean, straight reference edge for the next steps.
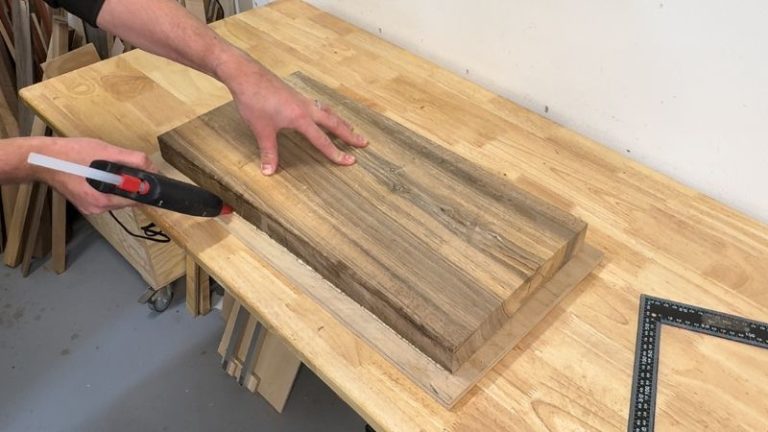
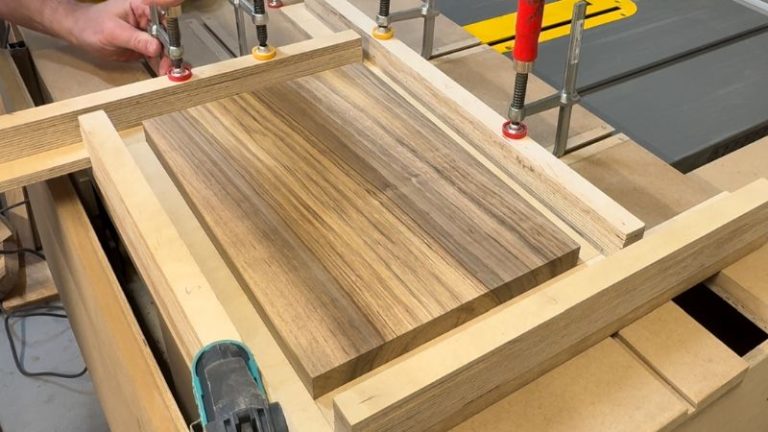
Because the slab is cupped, I don’t want it rocking around in the planer. So I hot-glue it to a straight base and run it through the planer to flatten the first face. Once I have one flat side, I flip the board and plane the other face normally until everything is flat and stable.
After this step, I have a clean, flat board blank that’s ready to be cut down to final dimensions.
Starting with a rough walnut slab — cracks on the ends and a bit of cup that needs to be fixed first.
I cut off the cracked ends first so I’m working with a solid, stable piece.
A jointer sled on the table saw is perfect for getting one clean, straight edge without owning a jointer.
Because the slab is cupped, I glue it to a straight base so it stays stable in the planer.
After planing both sides, I’m left with a flat blank that’s ready for final sizing.
Step 2: Cut the Board to Final Dimensions
Now that I have a flat blank, it’s time to bring it to the final size.
I start by trimming both ends again on my table saw sled — and this part is important. After planing, you often get a bit of snipe on the ends, and in my case those areas also still had small cracks. So I cut both ends clean to remove anything questionable.
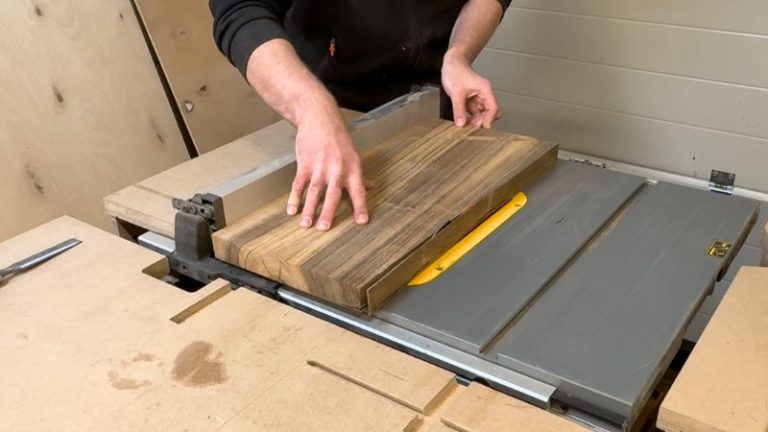
After that, I clean up the two long edges by running the board along the table saw fence, which gives me straight edges and nice 90° corners. Then I give the board a quick first round of sanding — just enough to knock down the planer marks and smooth things out a bit. The full sanding session comes later, once all the router work is done.
Once this step is done, the board is officially at its final dimensions: 37 × 25 × 3.5 cm (~14-1/2″ × 9-7/8″ × 1-3/8″)
This is a solid mid-sized cutting board — thick enough for heavier use, but still easy to handle and store.
I square up both ends on the table saw sled so the board is clean and perfectly sized.
Running the board against the fence gives me a straight long edge and a clean reference surface.
I sand the board first before moving to cutting a juice groove.
Step 3: Cut the Juice Groove
Adding a juice groove is one of the most delicate parts of making a cutting board, so this is the step where I slow down and take my time. After all the prep work, a small slip here can ruin hours of work — which is why I really recommend using a juice groove jig. It keeps everything controlled and removes a lot of the “one bad moment” risk.
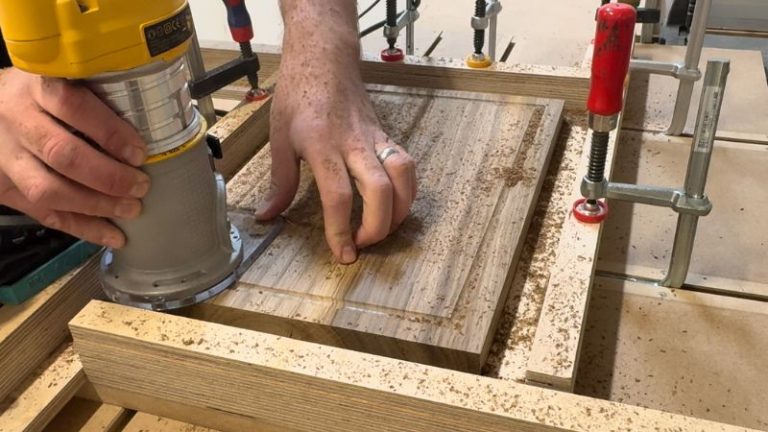
I clamp the board securely in my jig and use a trim router with a juice groove bit to get a clean, even groove. The key is to move slowly and steadily and stay in control — that’s also the best way to avoid burn marks.
When routing on the inside of a cutting board, always move clockwise around the edge. That keeps the router stable and helps prevent it from grabbing and running off line.
💡 Note: Face grain doesn’t burn as easily as end grain, but I still keep the RPMs lower and take shallow passes for the cleanest finish.
I clamp the board in a juice groove jig — this is the safest way to keep the router under control.
When routing inside the board, I move clockwise to keep the router steady and predictable.
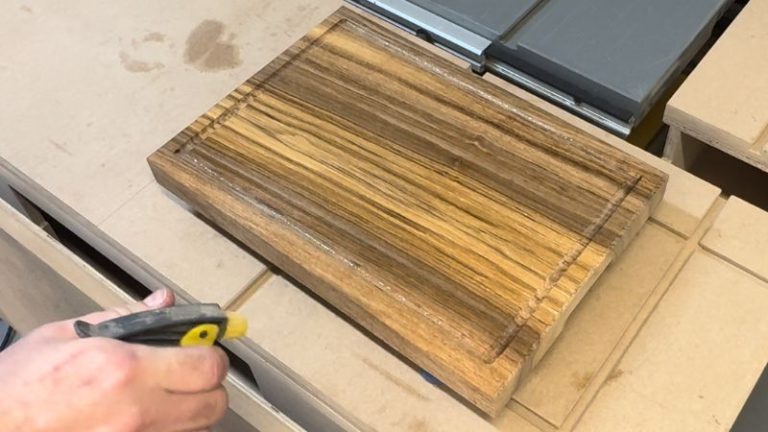
Sanding the juice groove to get rid of burn marks.
Step 4: Bevel the Edges and Cut the Side Handles
For this step I’m using my router table — it makes both the bevel and the handles quick and consistent. Once the setup is dialed in, it’s really just a matter of swapping bits and moving from one operation to the next. (And if you don’t have a router table, you can also cut handles with a cutting board handle jig — I use that method in some of my other cutting board builds.)
1. Bevel the edges
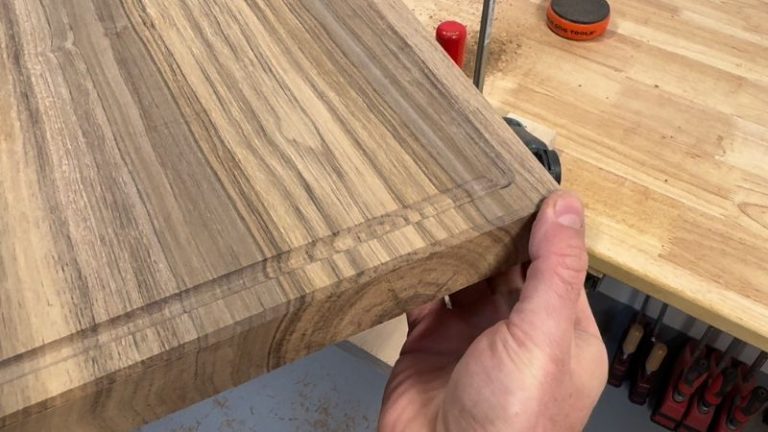
To bevel the edges, I use a 45° bevel bit. Always feed the board against the rotation of the bit, and take a few shallow passes. That helps prevent tear-out and leaves a much cleaner surface. If you want the edges a bit softer, a couple quick passes with a sanding block after beveling does the trick.
2. Cut the handles
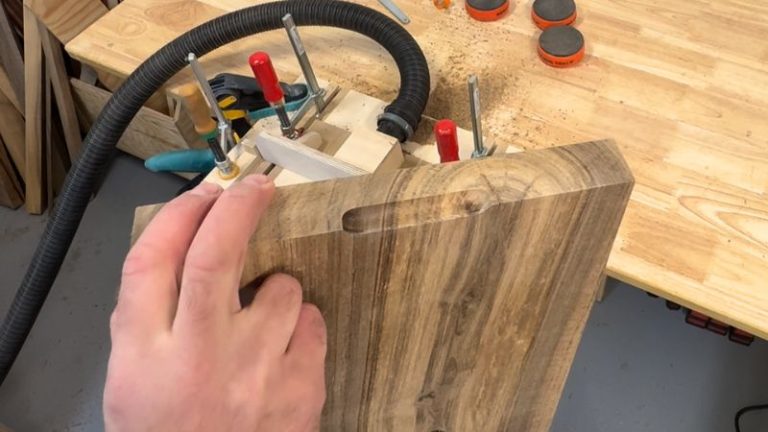
For the handles, I set up stop blocks on the router table first, so the handles end up centered and symmetrical. I’m using a cove bit and, again, I feed against the bit rotation with slow, steady movement. Shallow passes help avoid burn marks, and I cut mine to about 0.8 cm deep (about 5/16″) — just enough for a comfortable finger grip. Then I repeat the same setup on the other side for the second handle.
A few shallow passes with a 45° bevel bit leaves a clean, crisp edge with minimal tear-out.
Using a 45° bevel bit to get clean bevels on a cutting board.
Slow, steady feed and shallow passes help avoid burn marks and keep the handle smooth.
Beveled edges + routed handles instantly make the board feel more “finished.”
Step 5: Sand, Oil, and Add Rubber Feet
Now it’s time for the finishing touches.
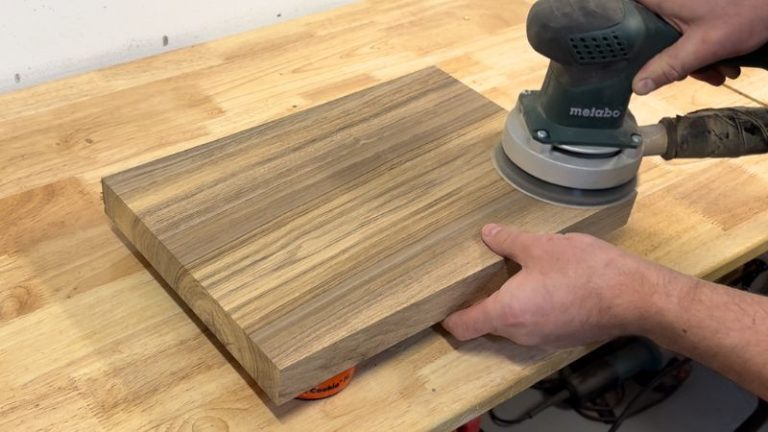
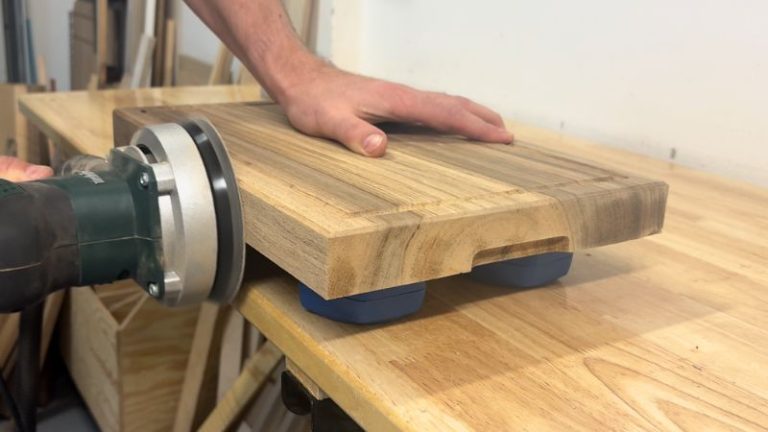
I sand the entire board with an orbital sander, working from 80 up to 300 grit. If your sander has speed settings, start slow and increase the speed as you move to the finer grits.
After sanding, I mist the board lightly with water to raise the grain, let it dry, then do one more quick sanding pass. 💡 Tip: Bench cookies help a lot here (both for sanding and oiling) because they keep the board stable and raised.
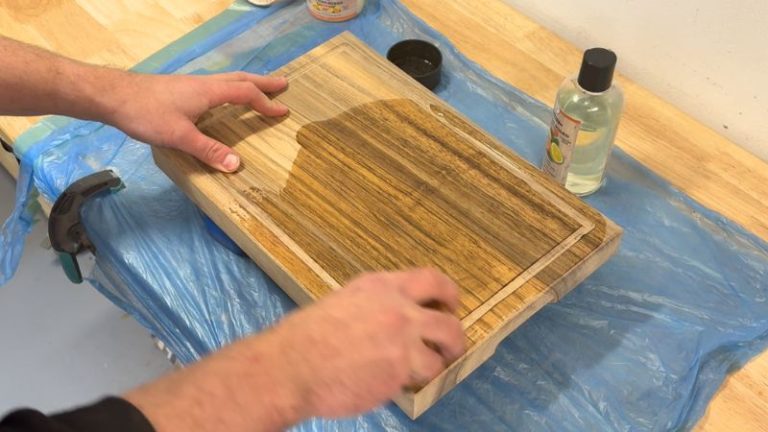
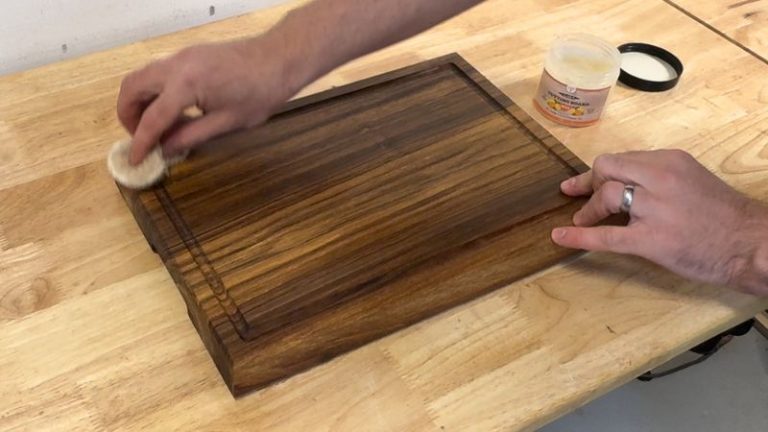
For finishing, I use Clark’s food-safe oil and wax. I apply one coat of oil, let it soak in, then add a second coat. You can buff in a thin layer of wax at the end for extra protection and a nice sheen.
Finally, I install the rubber feet. I mark the positions with a ruler marking gauge, predrill shallow holes, and screw them in. They lift the board slightly, make it easier to handle, and help keep moisture from sitting underneath.
I sand the whole board from 80 up to 300 grit — this is where walnut really starts to pop.
A quick water mist raises the grain, so the final sanding leaves the surface extra smooth.
I wipe on a coat of food-safe oil, let it soak in, then go for a second coat.
Rubber feet lift the board slightly and help prevent moisture from getting trapped underneath.
Applying Clark’s wax to a walnut cutting board to protect it and give it extra shine.
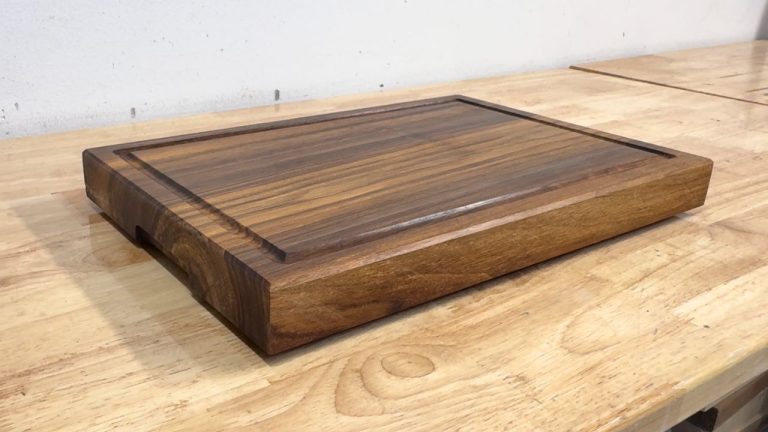
And this is what the finished cutting board looks like.
Finished walnut face grain cutting board — clean edges, centered handles, and a juice groove for everyday use.
The final touches: food-safe oil finish and rubber feet for a stable, countertop-friendly cutting board.
Wrap-Up
Face grain cutting boards are the most basic type of cutting board you can make — and that’s exactly why they’re the best place to start. Build one, practice the workflow, get the hang of the process, and then move on to the more advanced styles like edge grain or end grain.
This board is made from a single walnut slab and walks through the full start-to-finish process of a professional-looking cutting board: prepping the wood, cutting a clean juice groove, shaping the edges and handles, and finishing it with oil and rubber feet.
What helps a ton along the way are jigs. There are a few delicate moments in any cutting board build, and jigs make those steps easier, safer, and repeatable — with the same clean results every time.
💡 If you want to build your own setup, check out my post on Best Jigs for Making Cutting Boards— you’ll find the essential jigs I used here and how they’ll help on your next board build.
📌 Save THIS PIN to your Board on Pinterest!
How to Make a Walnut Cutting Board for Beginners — router features + food-safe finish.
FAQ
1) Is a face grain cutting board good enough for daily use?
Yes. A face grain board is a solid everyday cutting board, especially for general prep work. It won’t be as “self-healing” as end grain, but if you use a good finish and basic care (no soaking, dry it upright), it’ll hold up great.
2) What thickness should a beginner cutting board be?
For most boards, 30–40 mm (1-1/4″ to 1-1/2″) is a sweet spot. It feels substantial, stays flatter, and gives you enough thickness for handles, edge profiles, and rubber feet.
3) What’s the best food-safe finish for a walnut cutting board?
A simple combo works best: food-grade mineral oil (or a dedicated cutting board oil) plus a wax/oil blend on top. Oil soaks in and protects; wax adds a little extra water resistance and sheen.
4) Do I really need a juice groove?
No — it’s optional. A juice groove is nice if you cut juicy foods (meat, fruit, tomatoes), but it also adds router work and cleanup. If you want the simplest first build, you can skip it and still have a great board.
5) How do you clean and maintain a walnut cutting board?
Wash it quickly with mild soap and warm water, never soak it, and dry it right away. Re-oil it when it looks dry or chalky (often every few weeks at first, then less often once the board is “seasoned”).
Meet the creator of AllFlavor Workshop! As a passionate DIYer and woodworking enthusiast, Lukas is always looking for ways to make things himself rather than buying them off the shelf. With a keen eye for design and a knack for working with wood, Lukas enjoys sharing his craft with others and helping them discover the joy of building. Whether you're an experienced woodworker or a novice looking to try your hand at a new hobby, you're sure to find plenty of inspiration and tips on AllFlavor Workshop.