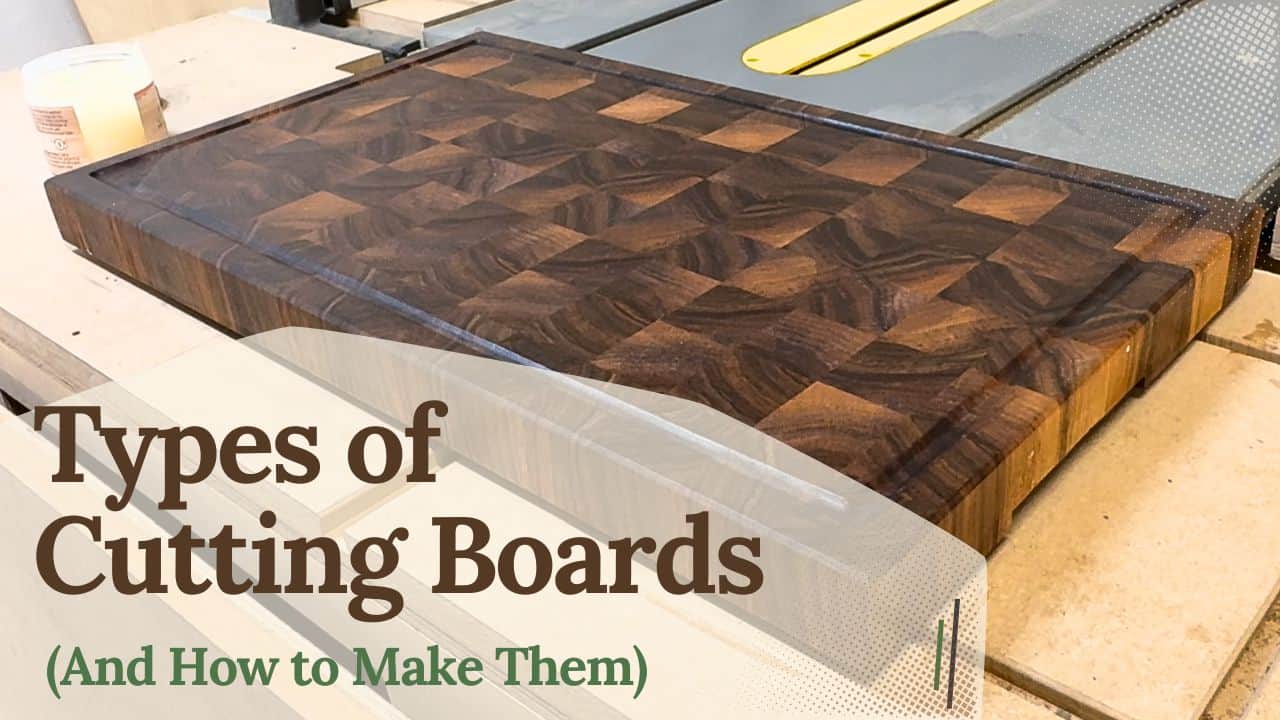
There are a lot of different types of cutting boards, and that is one of the reasons this is such a great woodworking project. Some boards are simple and practical, some are more decorative, and some take quite a bit more planning and glue-up work. Over time, I’ve made a few different cutting boards myself, and I’ve found that people are often not just looking for what a cutting board is, but which type makes the most sense to build.
That is what this guide is about.
Instead of looking at cutting boards from only one angle, I want to go through the main types of cutting boards more broadly — by build approach, style, and overall look. The goal here is not to list every possible cutting board out there, but to give you a practical overview of the main directions you can take depending on your skill level, tools, and the kind of board you want to make.
And if you want to see the jigs that help most with cutting board projects, take a look at my Best Jigs to Make Cutting Boards article.
| Cutting Board Type | Best For | Difficulty | Main Look | Typical Build Approach |
|---|---|---|---|---|
| Face Grain | Simple builds, serving boards, quick projects | Easy | Clean wood grain, flatter look | Boards glued edge to edge with the face up |
| Edge Grain | Everyday cutting boards, beginner-friendly builds | Easy to Medium | Straight grain lines, classic striped look | Boards glued face to face with the edge up |
| End Grain | Heavier-duty boards, premium builds, pattern work | Medium to Hard | Block pattern, detailed surface, decorative look | Strips are glued, cut, rotated, and glued again |
| Striped / Simple Pattern | Clean modern boards, easy design upgrades | Easy to Medium | Strong contrast, neat repeated lines | Alternating wood species in a simple glue-up |
| Ombre / Gradient | Decorative boards, gift builds, visual projects | Medium | Smooth transition from light to dark | Careful wood selection and color-based layout |
| Chaotic / Mixed Pattern | Creative builds, offcut use, unique one-off boards | Medium to Hard | Randomized pattern, more organic look | Mixed strip sizes, species, and varied glue-up layout |
How to Think About Different Types of Cutting Boards
When people talk about different cutting boards, they often mean different things. Sometimes they mean the actual construction, like face grain, edge grain, or end grain. Other times they mean the overall look of the board — for example a simple striped board, an ombre layout, or a more chaotic pattern made from mixed pieces. And in some cases, they are really thinking about purpose: a daily-use kitchen board, a serving board, or a heavier-duty chopping board.
That is why I think it makes sense to look at cutting boards from more than one angle. If you only group them by construction, you miss a lot of the design side. But if you only look at the visual style, you miss the practical part of how the board is actually built and used.
So in this article, I’ll keep it simple and go through the main types of cutting boards in a way that is useful for someone who wants to make one. I’ll look at them from the workshop perspective — how they are built, what makes them different, and what kind of project each one is best suited for.
If you want a deeper comparison of the structural side, you can also check my article on face grain vs edge grain vs end grain cutting boards.
NOTE: A cutting board can fit into more than one category at the same time. For example, a board can be edge grain by construction, striped by design, and still be intended as an everyday kitchen board.
📌 Save THIS PIN to your Board on Pinterest!
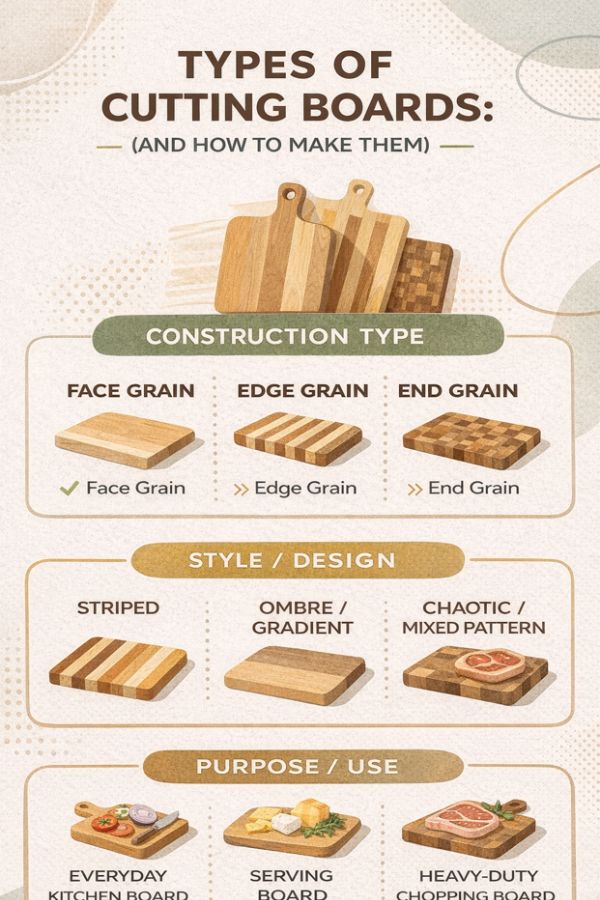
Cutting Boards by Construction Type
One of the most common ways to group cutting boards is by how they are built. This is usually the first distinction woodworkers learn, because it affects not just the look of the board, but also how the glue-up works, how much stock you need, and how involved the whole project becomes.
The three main construction types are face grain, edge grain, and end grain.
- Face grain boards are usually the simplest visually. They show more of the wide face of the wood, and they can work well for lighter-use boards or serving-style projects.
- Edge grain boards are one of the most common choices for woodworking projects. They are practical, look clean, and are a very good option if you want to build a solid everyday cutting board without making the process too complicated.
- End grain boards are the most involved of the three, but they also open the door to more decorative layouts and premium-looking builds. They usually take more preparation, more milling, and more careful glue-up work, but the final result can be really impressive.
For me, this is the most useful way to think about construction type: it sets the base of the project. After that, you can still change the style, pattern, wood species, shape, handles, or add details like a juice groove. That is why construction type matters — it gives the board its starting point.
TIP: If you are just getting into cutting boards, edge grain is usually a very good place to start. It gives you a nice result without making the glue-up too complicated.

Cutting Boards by Style and Design
Once you get past the basic construction type, the next big difference is the overall style of the board. This is usually the part that gives a cutting board its personality. Two boards can be built the same way structurally, but still look completely different depending on the wood choice, strip layout, color contrast, and pattern.
- The simplest style is a striped board. That is often where many cutting board projects begin, and for good reason. It is clean, practical, and easy to adjust just by changing the wood species or the width of the strips. Even a basic striped layout can look really good if the proportions are right.
- From there, you can move into more visual designs like ombre or gradient boards, where the color shifts gradually from light to dark, or the other way around. These builds usually take a bit more planning, because the look depends a lot on how you arrange the pieces before glue-up. The construction itself may not be dramatically harder, but the layout matters much more.
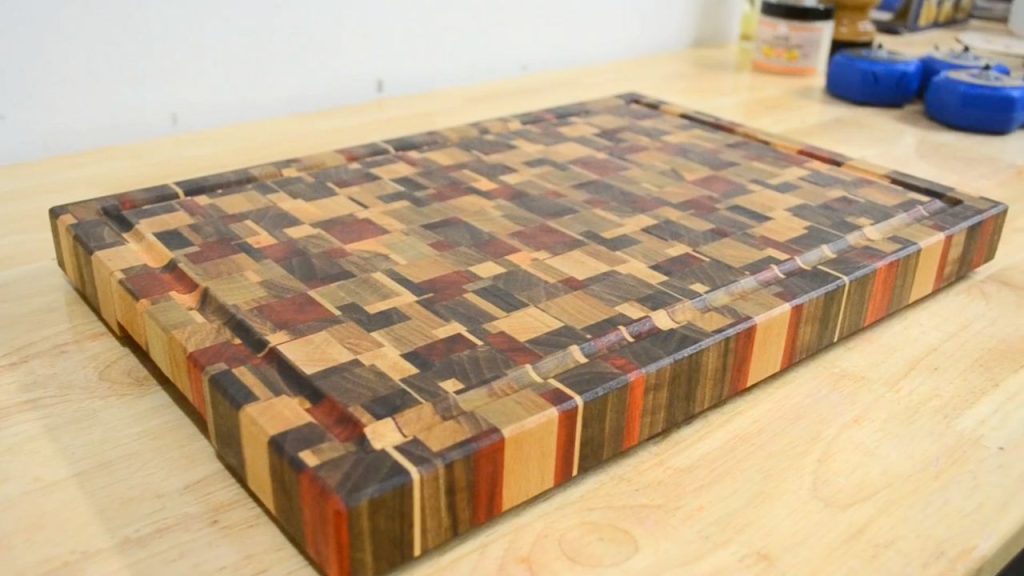
- Then there are chaotic or mixed-pattern boards, where the goal is not a clean repeated pattern but a more varied and organic look. These can be a great way to use different offcuts or mix several species together, but they also need some control. If the layout is too random, the board can start to look messy instead of intentional.
This is the part of cutting board making I enjoy a lot, because small changes in layout can completely change the final result. Sometimes the board is all about function, and sometimes the visual side becomes part of the fun. And in many cases, it is somewhere in between.
If you plan to add details later, this is also the stage where it helps to think ahead. For example, if you want to cut a juice groove, add handles, or shape the edges, it is easier to plan that early rather than treat it as an afterthought.
NOTE: Style and construction are not the same thing. A board can be edge grain by construction, but still be striped, ombre, or chaotic by design.
Cutting Boards by Purpose
Another useful way to think about cutting boards is by what you actually want them to do. Because in the workshop, the “right” board is not always the most complex one or the most decorative one. Sometimes the best choice is simply the one that fits the job.
- Some boards are meant for everyday kitchen use. These are the boards you want to reach for often, clean easily, and use without overthinking it. In that case, a practical shape, comfortable size, and solid construction usually matter more than a very complicated pattern.
- Other boards lean more toward serving or presentation. These can still be fully usable, but the visual side plays a bigger role. This is where shape, contrast, and details like rounded corners, handles, or a more decorative layout can make a bigger difference.
- Then there are boards built more like heavy-duty chopping boards, where thickness, durability, and overall sturdiness matter more. These tend to feel more substantial and are often the kind of project where you want the board to stay planted and handle regular hard use.
I think this matters because it changes how you approach the build. If you are making a daily-use kitchen board, you may want to keep the design simpler and focus more on practicality. If you are making a gift or a more decorative piece, you might spend more time on layout, color transitions, and finishing details.
And once you know the purpose, a lot of smaller decisions become easier too — size, thickness, edge treatment, whether to add a juice groove, and how much time it makes sense to invest in the overall design.
TIP: Before starting a cutting board, decide whether you want it to be mainly practical, mainly decorative, or somewhere in between. That one decision makes the rest of the build much easier.

Which Type of Cutting Board Should You Make First?
If you are just getting started, I think the best choice is usually a simple edge grain board or another clean striped build. It gives you a good result, teaches you the main process, and does not make the glue-up harder than it needs to be.
Once you are comfortable with that, it makes sense to move into more planned designs like ombre layouts or more decorative boards where the visual side matters more. And after that, if you want more of a challenge, you can step into end grain builds or more complex mixed patterns.
That is usually the order I would recommend: start simple, get the process right, and then build up from there. Things like clean milling, accurate glue-ups, flattening, shaping, and sanding matter on every cutting board, no matter how simple or advanced the final design is.
If you want help with that side of the process, take a look at my Best Jigs to Make Cutting Boards article. Jigs like a jointer sled, flattening jig, handle jig, or even a good sanding block can make a big difference when building cutting boards.
TIP: A simpler board that is well milled, well glued, and nicely finished will usually look better than a more complex board that feels rushed.
Common Mistakes When Choosing a Cutting Board Type
One mistake I see quite often is starting with a cutting board that looks impressive, but is simply too complicated for where you are at. It is easy to get pulled toward a more advanced pattern or glue-up, but if the process becomes frustrating, the whole project stops being fun.
Another common mistake is focusing too much on the look of the board and not enough on how it will actually be used. A board for everyday kitchen use does not need the same approach as a decorative serving board or a heavier chopping block. The purpose should always help guide the design.
I also think people sometimes underestimate how much the prep work matters. A cutting board may seem like a simple project, but straight stock, clean glue-ups, flattening, and sanding make a huge difference in the final result. Even a basic board can look great if those parts are done well.
If you are unsure, choose the simpler version first. You can always make a more advanced board next, but a clean and well-finished simple board is never a bad project.
| Mistake | Why It Happens | Better Approach |
|---|---|---|
| Choosing a design that is too advanced | The board looks exciting, but the build is harder than expected | Start with a simpler striped or edge grain board first |
| Thinking only about appearance | The design comes first, but the actual use is ignored | Match the board style to whether it is for daily use, gifting, or display |
| Underestimating prep and finishing | Cutting boards seem simple, so milling and sanding get rushed | Put more focus on straight stock, flat glue-ups, and clean finishing |
Wrap Up
There are a lot of different ways to approach cutting boards, and that is exactly what makes them such a good woodworking project. You can keep things simple and practical, or you can put more focus on design, pattern, and overall presentation. For me, that is part of the fun — even when the project stays relatively small, there is still a lot of room to experiment and improve.
If there is one thing I would recommend, it is to choose the type of cutting board that fits your current skill level, tools, and goal for the build. A simpler board done well is always better than a more complicated one that feels rushed. Once you get the process down, it becomes much easier to move into more decorative or more advanced builds.
And if you want help with the process side of it, have a look at my Best Jigs to Make Cutting Boards article. It covers the jigs I find most useful when building and finishing cutting boards in the workshop.
FAQ
1. What are the main types of cutting boards?
The main types of cutting boards are usually grouped by how they are built: face grain, edge grain, and end grain. But in practice, cutting boards can also be grouped by style, pattern, and purpose. That is why two boards can be built differently and still both work well, depending on what you want from the project.
2. What is the easiest type of cutting board to make?
A simple edge grain cutting board is usually one of the easiest options to start with. It gives you a solid, practical result without making the glue-up too complicated. A basic striped board is often a very good first project if you want to learn the process.
3. Which type of cutting board is best for beginners?
For most beginners, a simple cutting board with a clean layout is the best place to start. That could be an edge grain board or another straightforward striped design. It lets you focus on milling, glue-up, flattening, and sanding without adding too much complexity right away.
4. Can different cutting board styles use the same construction type?
Yes, absolutely. A cutting board can be one construction type and still have many different design styles. For example, an edge grain board can be striped, more decorative, or built with a more varied mixed pattern. The construction and the visual design are related, but they are not the same thing.
5. How do I choose the right type of cutting board to build?
The best way is to start with the purpose of the board and the tools you have available. If you want a practical everyday board, a simpler build usually makes the most sense. If you want something more decorative or want to try a new pattern, you can choose a design that gives you a bit more of a challenge.
