
I built this jointer sled because I needed something reliable for prepping rough stock, trimming live edges, and cleaning up cutting boards. As a bonus, it also works great for cutting clean, repeatable tapers.
The sled is made from 6 mm plywood and 16 mm MDF, glued and screwed into a strong, flat platform. It rides along the table saw fence instead of the miter slot, which gives it much more capacity for longer and wider pieces.
I also integrated a dovetail track system so I can quickly clamp workpieces, add a fence for taper cuts, or use stops and hold-downs wherever I need them. The layout gives a lot of flexibility while keeping everything safe and controlled.
I use this jig all the time when working on cutting boards — especially when squaring up glued panels after flattening.
👉 If you’re building cutting boards, this pairs perfectly with my Best Jigs for Making Cutting Boards guide. I also now offer premium woodworking plans for selected cutting board jigs and bundles if you want the more complete version of the builds.
Watch the Build
Here’s the full video walkthrough of how I built the jointer sled. It shows every step from cutting the base to routing the dovetail tracks and using it for tapering cuts. If you’re building your own, I highly recommend watching it before you start.
I appreciate every YouTube subscriber. It’s free and easy to subscribe to — just Click Here To Subscribe. Thank you!
Table of Contents
- Watch the Build
- Table Saw Jointer Sled Plans
- Materials and Tools
- Let’s Start Building (Step-by-Step Guide)
- Step 1: Making the Jointer Sled Base
- Step 2: Cutting the Dovetail Tracks
- Step 3: Final Touches and Setup
- How to Use the Jointer Sled
- Jointer Sled vs Other Edge-Jointing Methods
- Wrap-Up / Final Thoughts
- FAQs
- Jigs I Used to Build This Project
*Safety is your responsibility. Make sure you know what you’re doing and take all necessary safety precautions while working with power tools. Safety comes first!
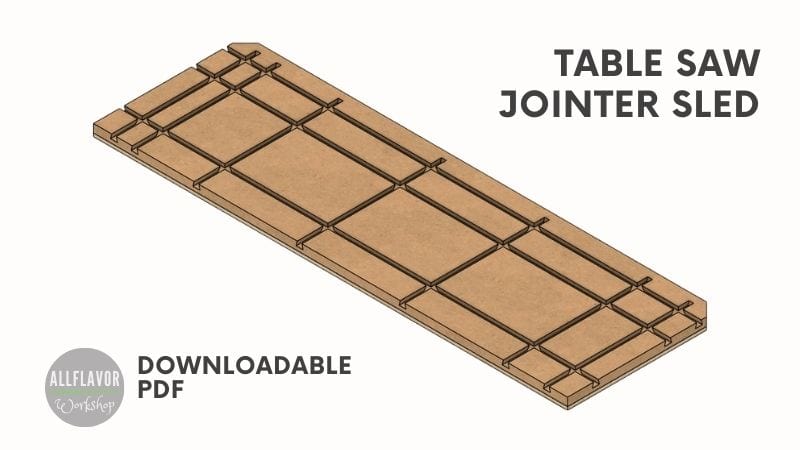
Table Saw Jointer Sled Plans
If you want the more complete version of the plans, I also now offer premium woodworking plans for selected cutting board jigs and bundles. This jointer sled is one of the first jigs I reach for when prepping stock, straightening edges, or squaring up cutting boards after flattening.
Materials and Tools
Here are the materials and tools you’ll need to build this DIY jointer sled.
Wood
- 6mm plywood (base layer)
- 16mm MDF (top layer)
Hardware
- Wood glue
- Screws
- MicroJig Dovetail hardware (clamps, bolts, etc.)
Dovetail Track System – Tools Microjig:
- Matchfit Clamping System – Link
- Dovetail Clamp Bit – Link
- Dovetail Clamps – Link
- Dovetail Hardware (Bolts) – Link
🛠 Check out all the tools I use here
(Affiliate links included — thank you for your support!)
Tools (affiliate links):
- Table Saw – Link
- Orbital Sander – Link
- Cordless Hand Drill – Link
- Table Saw Blade – Link
- Trim Router – Link
- Folding Shelf Brackets – Link
- WolfCraft Quick Clamps – Link
- Ryoba Saw – Link
- Wood Glue – Link
- Sanding Discs – Link
- Sandpaper Sheets – Link
- Drill Bit Set – Link
- Dust Respirator – Link
- Respirator Cartridge – Link
- Eye Protection – Link
Affiliate Disclaimer:
Some of the links in this post are affiliate links. If you click on a link and make a purchase, I may earn a small commission at no extra cost to you. I only recommend tools and materials I personally use and trust. Thank you for supporting my work!
📌 Save THIS PIN to your Board on Pinterest!

Let's Start Building!
This jointer sled is built from two layers — a 6 mm plywood base and a 16 mm MDF top — glued and screwed together to create a strong and flat platform.
The sled rides along the table saw fence instead of the miter slot, which gives you more support and makes it easier to handle longer and wider boards.
What makes this design especially useful is the dovetail track layout. It allows you to quickly clamp workpieces, add fences for taper cuts, or position stops exactly where you need them.
The build itself is straightforward, but accuracy matters — especially when it comes to alignment and track placement.
Let me walk you through the process step by step.
How to Build a Table Saw Jointer Sled
Step 1: Making the Jointer Sled Base
Start by cutting the 6 mm plywood and 16 mm MDF boards to size. My finished sled is 92 cm long and 30 cm wide, which gives me enough support for longer boards while still keeping the sled easy to handle.
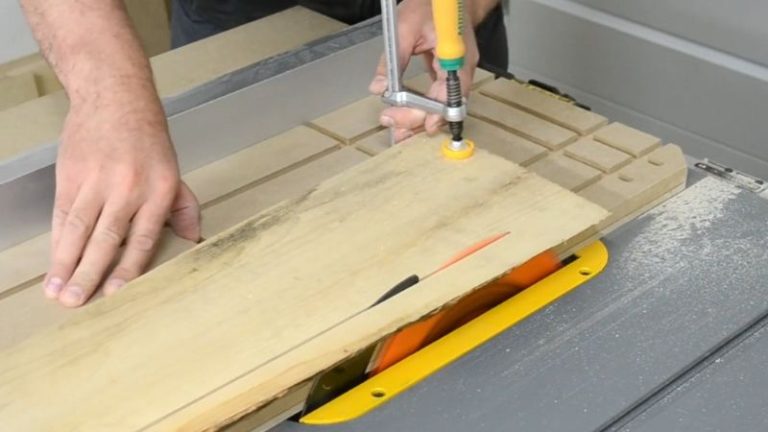
Apply wood glue to the plywood, place the MDF on top, and clamp everything together until the glue fully cures. This creates a strong, flat base for the sled.
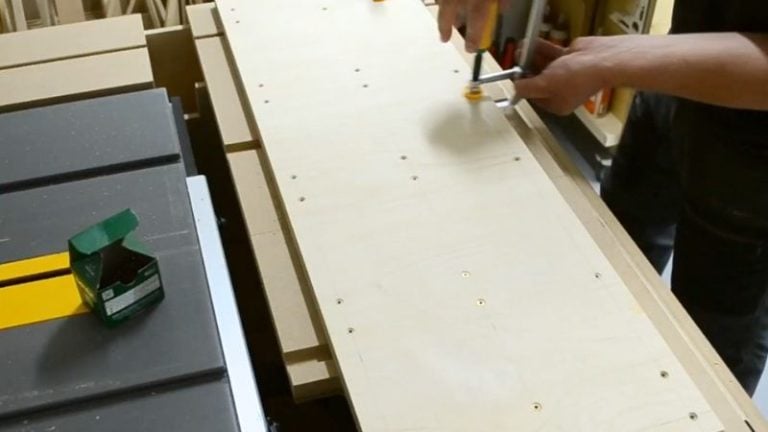
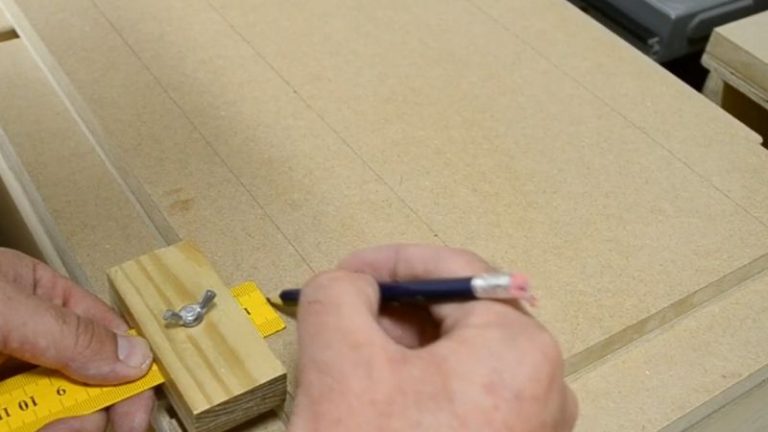
Once the glue dries, trim the edges clean so both layers are perfectly aligned. Then flip the sled upside down and mark the screw positions. The screws will help hold both layers together, but make sure they do not intersect with the dovetail tracks you’ll cut in the next step.
NOTE: Plan the screw locations before drilling. You don’t want a screw in the path of the router bit when cutting the dovetail tracks.
TIP: Make sure the screw heads sit flush with the bottom of the sled so they don’t scratch the table saw surface or affect how the sled slides.

Step 2: Cutting the Dovetail Tracks
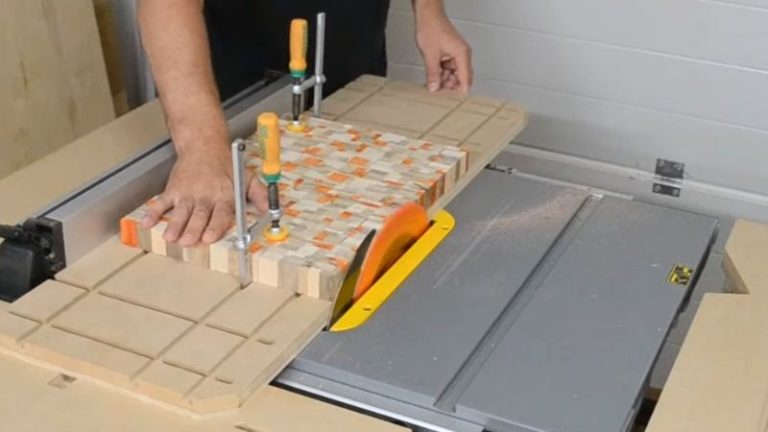
Once the base is assembled and cleaned up, flip it back to the top side and mark the layout for the dovetail tracks.
In this design, I used:
- 3 tracks running the full length of the sled
- 7 cross tracks to create a flexible clamping grid
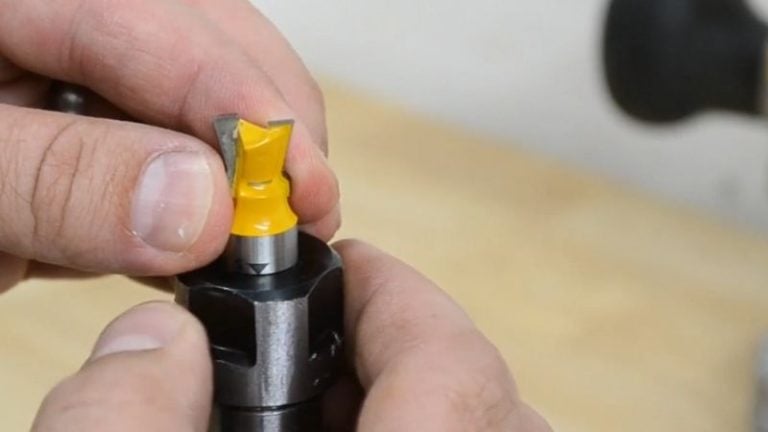
This layout gives you a lot of freedom to position clamps, fences, and stops wherever you need them. To cut the tracks, use a ½″ 14° dovetail router bit (Microjig Matchfit). Set the depth carefully and use a straight guide or fence to keep the cuts clean and consistent.
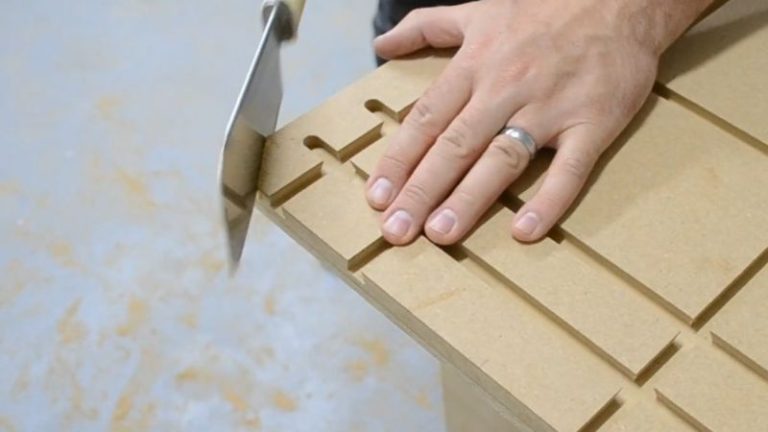
NOTE: For the cross tracks, do not cut all the way through. Stop the groove short on the side that will be closest to the table saw blade.
This is an important safety detail — it prevents the blade from ever contacting the groove during use. Take your time routing the tracks and keep the movement steady to get clean edges and consistent depth.
TIP: Make a test cut on scrap material first to dial in the depth and fit of your dovetail hardware.


Step 3: Final Touches and Setup
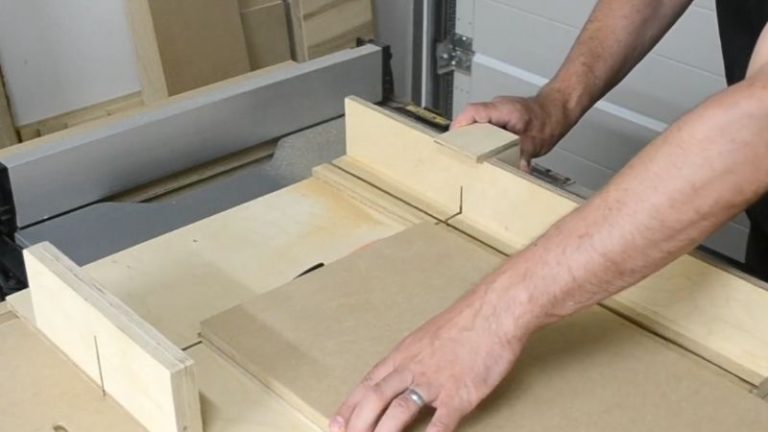
To finish the sled, start by trimming the two corners on the side that runs closest to the blade. This gives you better clearance and helps keep everything smooth and safe during cuts.
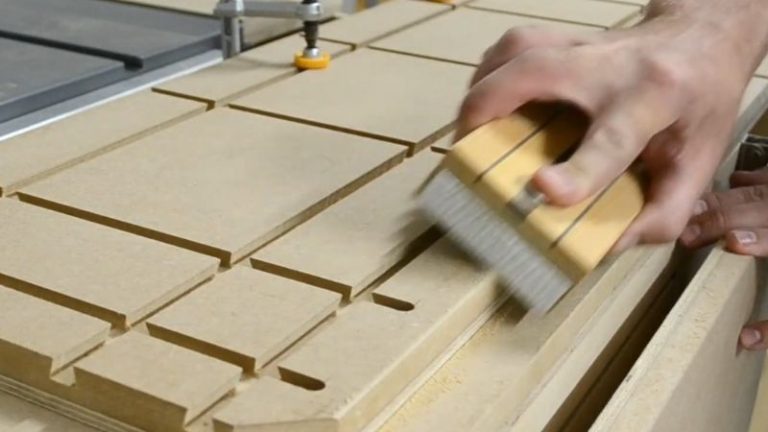
Next, lightly sand the top edges of the sled. I like to break the sharp edges slightly — it makes the sled more comfortable to handle and reduces the chance of splinters. I used my sanding block for this step, which works great for quick cleanup and edge smoothing.
At this point, the sled is ready to use. You can keep it simple, or take it a step further by adding a fence or stop blocks using the dovetail tracks.
I’m using a fence from another jig that clamps directly into the tracks — it’s quick to set up and works really well for taper cuts or repeatable setups.
Find This Blog Post Useful?
Join my newsletter to receive the latest news, tutorials, and project plans sent directly to your inbox!
How to Use the Jointer Sled
This sled is super versatile, and that’s what makes it such a useful jig in the workshop. I use it regularly for prepping boards, cleaning edges, and even cutting tapers. Here are the main ways I use it:
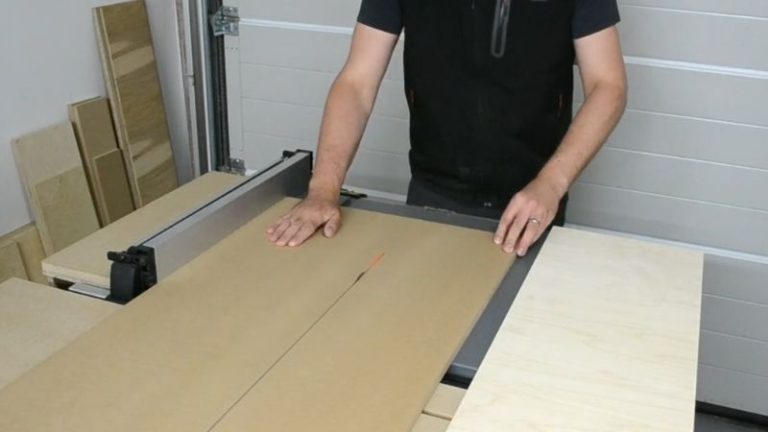
Edge Jointing Rough Stock
If you’re starting with rough, uneven, or live edge boards, this sled is a great way to get that first clean edge. Clamp the board down using the dovetail tracks and make a straight cut along the fence. Now you’ve got a flat edge ready for further milling or glue-ups.Trimming Cutting Boards to Size
Once I’ve glued up a cutting board, I’ll use the sled to square it up and trim the edges clean. It’s especially helpful when I want both sides perfectly parallel before routing grooves or sanding.
👉 Best Jigs for Making Cutting BoardsCutting Tapers
Attach a fence or a stop block to the sled and you’ve got a solid tapering jig. Just rotate your workpiece slightly, clamp it down, and make your cut. I’ve used this on table legs and decorative panels — works like a charm.
👉 DIY Table Saw Taper JigPrecision Work with Large Pieces
Because the sled rides against the fence (instead of the miter slot), it gives you better support and control when working with longer or wider boards. This reduces wobble and helps improve overall accuracy — especially when working with heavier hardwoods.
TIP: Always make sure the workpiece is securely clamped before cutting — any movement will affect accuracy and safety.
NOTE: Take light passes and let the blade do the work. Forcing the cut can lead to rough edges or kickback.

Jointer Sled vs Other Edge-Jointing Methods
| Method | Best For | Accuracy | Cost | Flexibility |
|---|---|---|---|---|
| Jointer Sled | Cutting boards, rough stock, tapering | ★★★★★ | Low | ★★★★★ |
| Jointer Machine | Straight boards, batch work | ★★★★★ | High | ★★★☆☆ |
| Hand Plane | Fine tuning, small adjustments | ★★★★☆ | Low | ★★★☆☆ |
A jointer sled is one of the most flexible ways to straighten edges in a small workshop, especially for cutting boards and irregular stock.
Wrap-Up
This jointer sled is one of those jigs that quickly becomes part of your everyday workflow. I use it all the time for prepping boards, cleaning up rough or live edges, and squaring things up before moving on to the next steps.
It’s especially useful when making cutting boards — after flattening the surface with a router sled, this is what I use to trim the sides clean and get everything square before routing grooves or sanding.
What I like most about this design is how versatile it is. With the dovetail track system, you can easily add fences, stops, or clamps and adapt it to different tasks. It’s not just a jointer sled — it also works as a tapering jig and a general-purpose cutting platform.
👉 If you’re building cutting boards, this is one of the essential jigs to have. You can check out more builds like this in my Best Jigs for Making Cutting Boards guide, and if you want the more complete version of the builds, you can also browse my woodworking plans page.
FAQ
What is a jointer sled used for?
A jointer sled is used to straighten one edge of a board using a table saw. It helps square rough, uneven, or live-edge stock before running it through additional cuts.
Can a jointer sled be used as a tapering jig?
Yes. By adding a fence or stop block, you can use the sled to cut clean and repeatable tapers. It’s a great way to combine two jigs into one setup.
Does the sled work without a miter slot?
Yes. This design rides along the table saw fence instead of the miter slot, which gives you more flexibility when working with longer or wider boards.
What router bit do I need for the dovetail tracks?
You’ll need a ½-inch 14° dovetail router bit, like the one from Microjig. It’s compatible with Matchfit clamps and other similar dovetail accessories.
Can I use other clamps and accessories, or only Microjig?
You can use any accessories that fit the dovetail profile. While this sled was built around the Matchfit system, it’s not limited to Microjig gear.
