
If you sand a lot of small pieces or edges, a good sanding block is one of those tools that just makes life easier. Sure, you can grab any flat scrap of wood and call it done — but I wanted something a bit more refined. Something that not only works great but also looks good in the shop.
So I built my own.
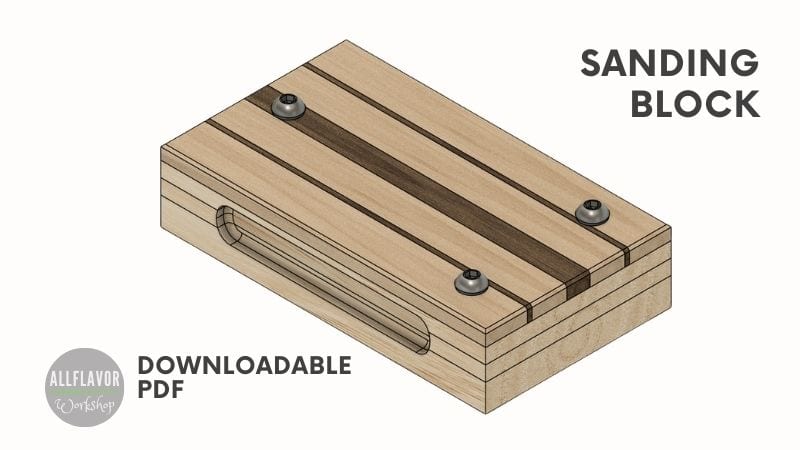
This one’s made from beech, walnut, and Baltic birch plywood — and while it’s just a sanding block at heart, it’s built to last, comfortable to use, and actually feels nice in your hand thanks to the routed finger slots and solid construction. The sandpaper locks in tight between two layers with bolts and nut inserts, and the whole piece has a kind of “cutting board” vibe to it that just makes it more fun to reach for.
I mostly use it to smooth cutting boards, especially the edges, so if you’re into that too, you might want to check out my Best Woodworking Jigs for Cutting Boards post — this sanding block fits right in with that workflow.
Watch the Build - DIY Sanding Block Video
Want to see how this sanding block comes together? Here’s the full build video — from cutting the top to routing the finger slots and putting it to use.
Every new YouTube subscriber helps a lot — and it’s free. Click here to subscribe, and thanks for the support!
Table of Contents
- How to Make a Sanding Block Video
- Downloadable Sanding Block Plans
- Materials and Tools
- Making a Sanding Block (Step-by-Step Guide)
- Step 1: Making the Top
- Step 2: Making the Bottom
- Step 3: Drilling Holes and Inserting Rivet Nuts
- Step 4: Routing Handles and Finishing the Block
- How to Use It
- Wrap-Up / Personal Reflection
- FAQ
- Jigs I used for this project
*Safety is your responsibility. Make sure you know what you’re doing and take all necessary safety precautions while working with power tools. Safety comes first!
Materials and Tools
Here are the materials and tools you’ll need to build this DIY sanding block, and you likely already have most of the materials and tools in your workshop.
As an Amazon Associate, I may earn from qualifying purchases at no extra cost to you.
Wood
- Beech (top layer)
- Walnut (top layer)
- Baltic birch plywood (support and base)
Hardware
- M6 bolts
- M6 nut inserts
Other Materials
- Wood glue
- Sandpaper sheets
- Wood oil (for finishing)
- Wax paper (for clamping)
Tools
- Table saw – Link
- Router – Link
- Drill press – Link
- Chamfer router bit – Link
- Router flattening bit – Link
- Juice groove router bit – Link
- Table saw blade – Link
- Push block – Link
- Parallel clamps – Link
- F-clamps – Link
- One-hand clamps – Link
- Drill bit set – Link
- Ratchet tool set – Link
- Double-sided woodworking tape – Link
✅ Check all the tools I use here
📌 Save THIS PIN to your Board on Pinterest!

Why Use a Sanding Block Like This?
A sanding block might seem like a simple tool, but the design makes a big difference in how it performs. A solid, well-shaped sanding block helps you keep surfaces flat, apply even pressure, and get much cleaner results compared to sanding by hand.
What I like about this design is that it holds the sandpaper firmly in place and feels comfortable to use, even during longer sanding sessions. That means better control and more consistent results, whether you’re working on small parts or larger surfaces.
Let's start building!
This isn’t just a random offcut with sandpaper stuck to it. I wanted to make a sanding block that actually looks good and works well — something I’d enjoy having in the shop.
The block is made from two parts:
- Top piece: laminated beech and walnut, backed by a 6.5mm Baltic birch plywood layer.
- Bottom piece: 18.5mm Baltic birch plywood.
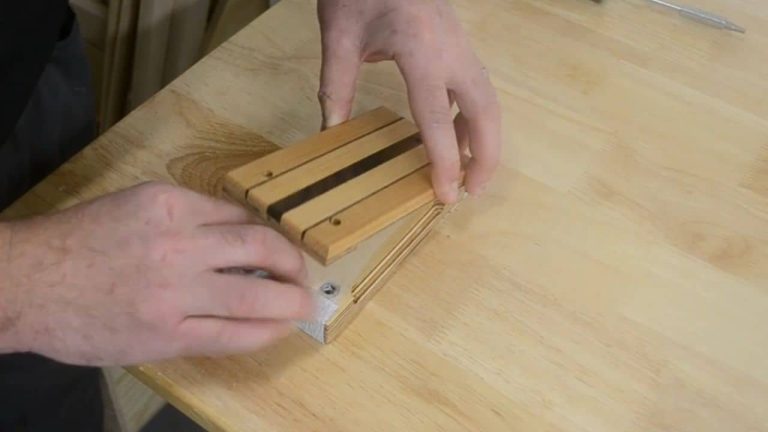
The two pieces are held together with M6 bolts and nut inserts, clamping the sandpaper in between. I also added finger slots on the sides so it’s easier to hold while sanding.
It measures 140mm x 80mm — compact, comfortable, and perfect for smoothing edges or smaller parts. I use it all the time around the shop. Let’s build it step by step.
How to Make a Sanding Block (Step-by-Step)
Step 1: Making the Top
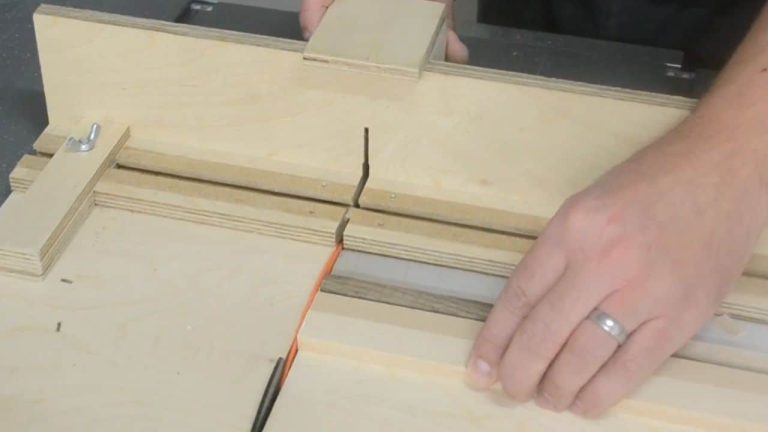
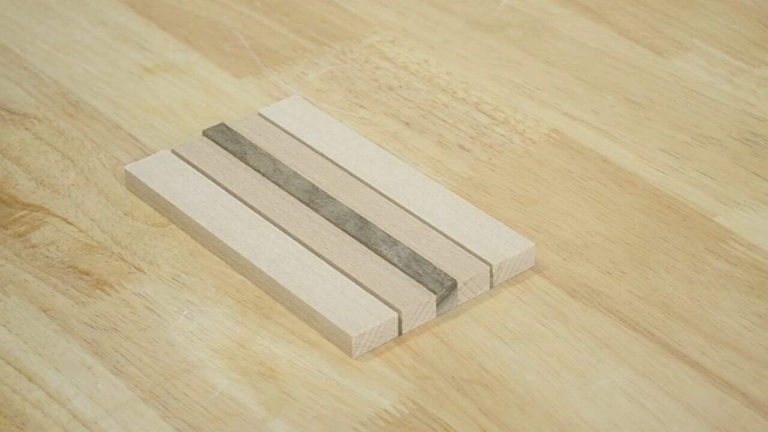
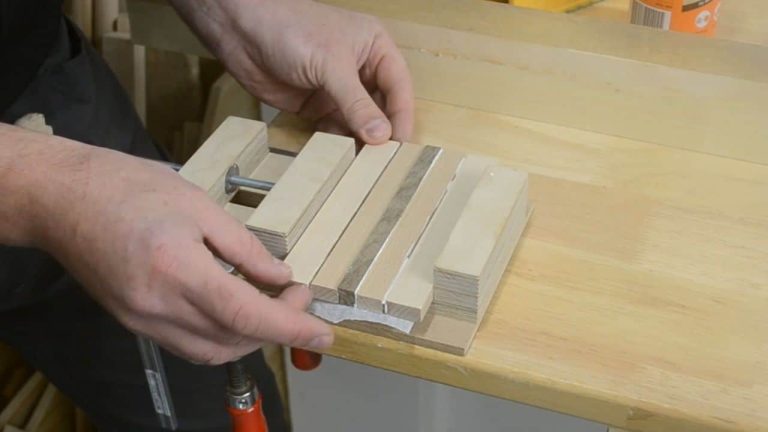
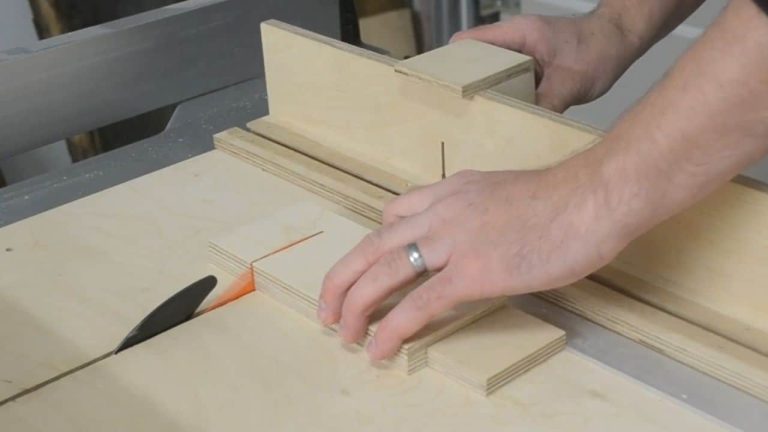
I started by cutting a few strips of beech and walnut on the table saw — keeping the width consistent. Then I trimmed them to final size using my crosscut sled. Once I had enough strips, I mixed them into a nice alternating pattern and glued them together using my drill press vise as a clamp.
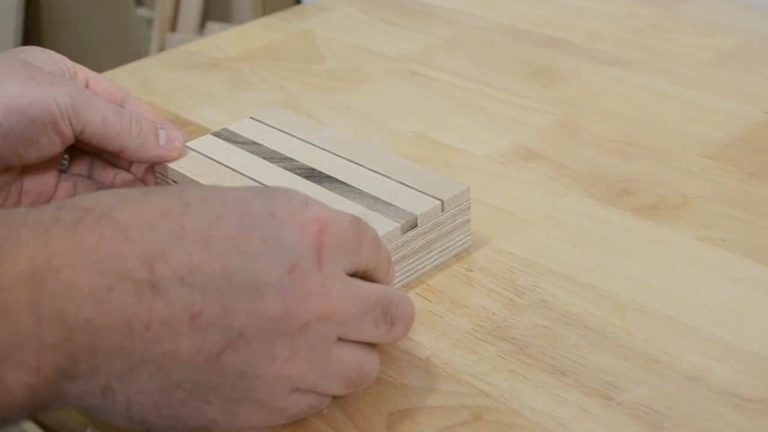
After the glue dried, I used my multipurpose router jig to flatten the block down to 6mm thickness. That became the visible top layer. To reinforce it, I glued it onto a 6.5mm piece of Baltic birch plywood. Together, they form a sturdy, stylish top for the sanding block — kind of like how you’d build a mini cutting board.
Step 2: Making the Bottom
The base is made from two pieces of Baltic birch plywood glued together — one 12mm thick, the other 6.5mm thick. Once glued, they match the size of the top piece perfectly. I trimmed the edges flush so the whole block stays square and aligned when assembled.
Having a double-layered base gives it strength and helps the bolts seat well later when tightening the sanding paper.
Step 3: Drilling Holes and Inserting Rivet Nuts
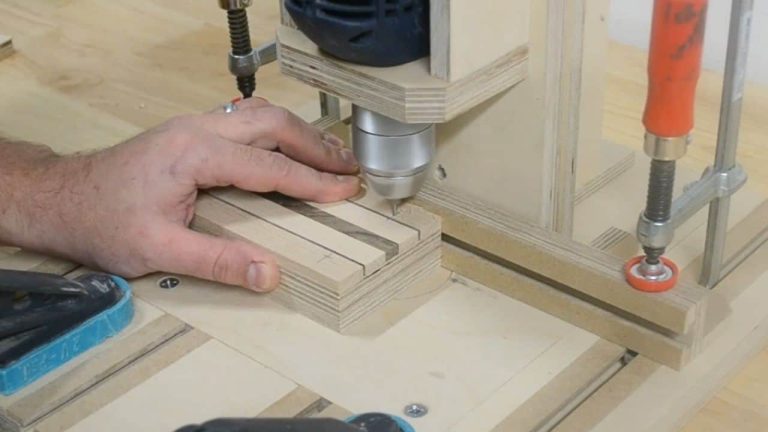
To make sure everything lines up perfectly, I temporarily attach the top and bottom pieces using double-sided tape. I mark the bolt positions on the top piece with a marking gauge, then drill straight through both layers using my drill press stand for clean, accurate holes.
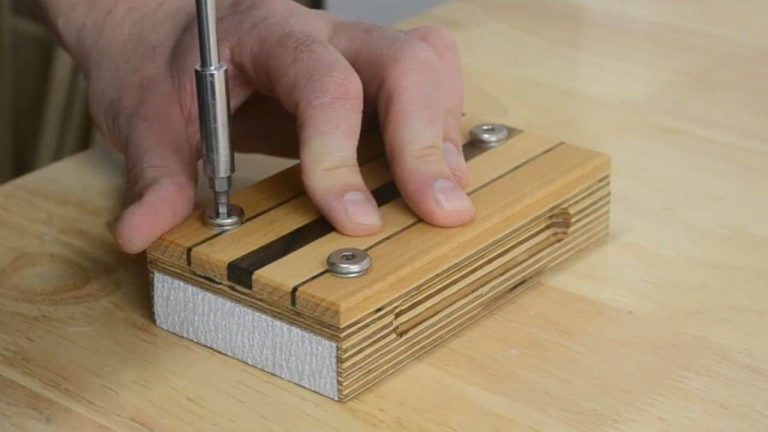
Next, I separate the pieces and insert M6 rivet nuts into the bottom piece, adding a little Gorilla glue to lock them in. Make sure the nuts are seated flush with the surface — you don’t want them interfering with the sanding paper. Once the glue sets, I bolt the pieces together to test the fit.


Step 4: Routing Handles and Finishing the Block
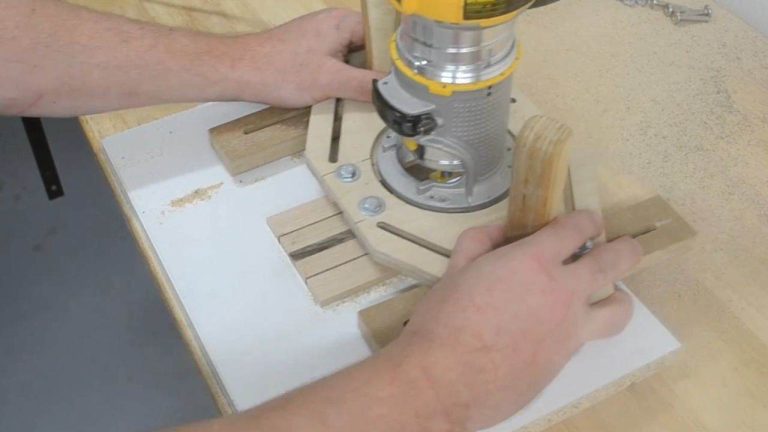
Now it’s time to make this sanding block feel great in your hand. With both pieces still bolted together, I use my benchtop router table and a ball-nose router bit to cut finger slots on both sides. These grips make a huge difference in control and comfort during sanding.
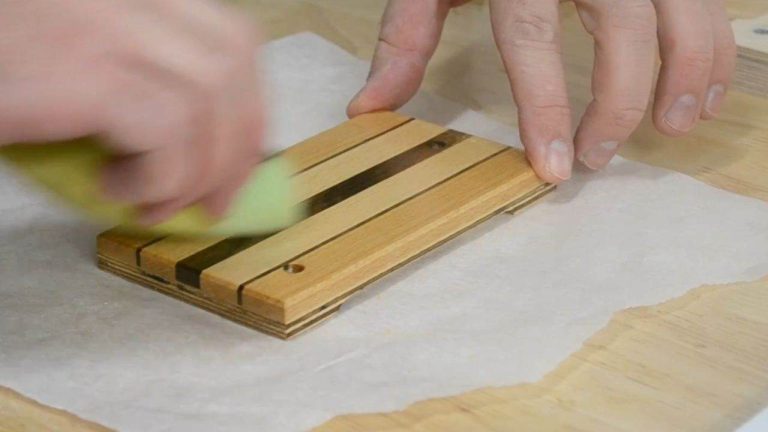
Then comes the finishing. I sand the entire block using progressive grits, rounding over all sharp edges—especially on the top piece. A quick coat of wood oil really brings out the beech and walnut pattern. Lastly, I cut a strip of sandpaper to size, slide it between the layers, and secure it with M6 bolts. Done!

Find This Blog Post Useful?
Join my newsletter to receive the latest news, tutorials, and project plans sent directly to your inbox!
How to Use the Sanding Block
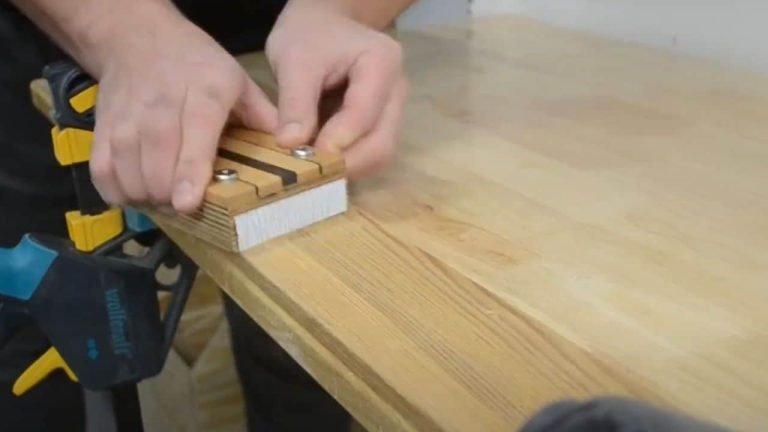
Using this sanding block is straightforward. Just grip it by the routed handles, and you’re ready to smooth out board edges, corners, or flat surfaces. I reach for it all the time when working on cutting boards — especially after trimming or rounding over the edges.
Since the sandpaper is clamped between the two layers, swapping it out is fast. Just unscrew the bolts, insert a fresh strip, and tighten it back down. The secure grip means no slipping, and the pressure is distributed evenly across the surface.
🔧 Optional Upgrade
You can always tune yours further — I’ve seen people add cork or foam underneath the sandpaper for even better flexibility. If you want to take it to the next level, give it a try.
Wrap-Up
I’ve used this sanding block on countless projects, and I’m really happy with how it turned out — not just in terms of function, but also how it feels and looks. It’s solid, easy to hold, and swapping sandpaper takes just a few seconds. It works especially well for cleaning up the edges of cutting boards, and honestly, I reach for it more than I expected.
Sure, you can opt for a simple store-bought version or create a basic one from scrap. But I wanted something that feels good in the hand, looks decent, and works well every time I pick it up. It’s still just a sanding block, but building it this way makes it a lot more enjoyable to use.
Want to build your own? While the free plans are coming soon, you can check out my Best Woodworking Jigs for Cutting Boards to see how this sanding block fits into the workflow — especially for smoothing edges and surfaces.
FAQ – DIY Sanding Block
What is the best wood for making a sanding block?
Hardwoods like beech, walnut, and oak are great choices. They’re durable, comfortable to hold, and don’t wear down quickly. Plywood or MDF can also be used for flat base layers.
Can I build a sanding block without bolts or inserts?
Yes. A basic sanding block can be made with just a flat piece of wood and adhesive or clamps to hold the sandpaper. But bolts and inserts offer a more secure and reusable solution.
How do you attach sandpaper to a homemade sanding block?
In this design, the sandpaper is clamped between the top and bottom pieces using bolts and nut inserts. This keeps the paper tight and makes replacement easy.
Is this sanding block good for smoothing cutting boards?
Absolutely. I use mine mostly for cleaning up the edges of cutting boards and prepping surfaces between finishing coats.
