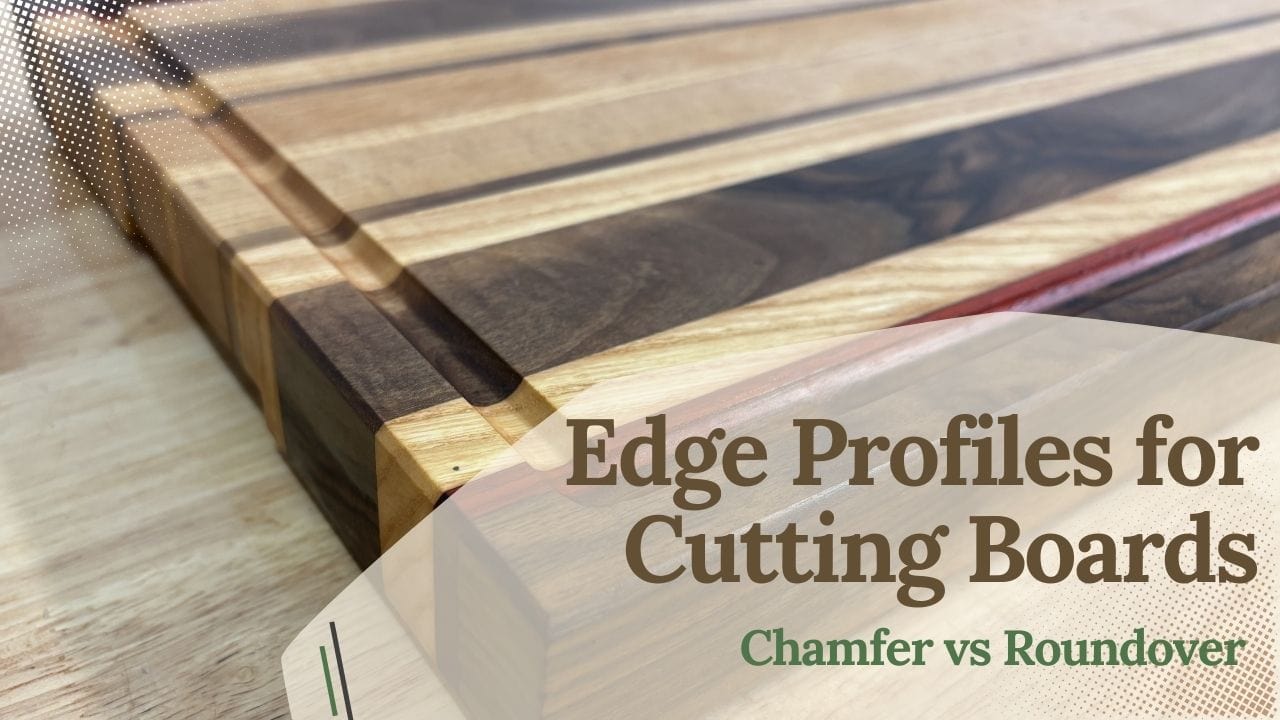
Adding edge profiles to a cutting board is usually one of the final steps in the build. It’s not strictly necessary, but it has a few big benefits: the board feels much more comfortable in your hands, the edges are less likely to chip or split over time, and it instantly gives the whole piece a more professional, finished look.
Most of the time I stick to two profiles — a chamfer or a roundover. You can experiment with other profiles too, but these two are simple, clean, and they work on basically any board. Personally, I prefer the chamfer because it feels more like a deliberate design choice (more “pro” in my head), but the classic roundover is always a safe, good-looking option.
The best way to cut these profiles is with a router — either handheld or at a router table — and I’ll show you exactly when I use each setup, which bits work best, and how to avoid tear-out and burn marks.
If you want the full cutting board workflow (including the router setups and jigs that make this easier), start here: 👉 Best Jigs for Making Cutting Boards (And How to Use Them)
Table of Contents
- Quick Answer: Chamfer vs Roundover (Which One Should You Use?)
- Why Edge Profiles Matter on Cutting Boards
- Tools You Need to Round Edges on a Cutting Board
- Router Bits for Cutting Board Edges (Chamfer Bit vs Roundover Bit)
- How to Cut Clean Edge Profiles (And Prevent Tear-Out)
- How to Fix Burn Marks on Routed Edges
- Wrap-Up: The Easiest Upgrade You Can Make to Any Cutting Board
- FAQs: Edge Profiles for Cutting Boards (Roundover vs Chamfer)
📌 Save THIS PIN to your Board on Pinterest!
Quick Answer: Chamfer vs Roundover (Which One Should You Use?)
If you’re choosing between these two edge profiles, you really can’t go wrong — both make a cutting board feel better in the hand and look more finished. But they do have a different “vibe” and a slightly different use case.
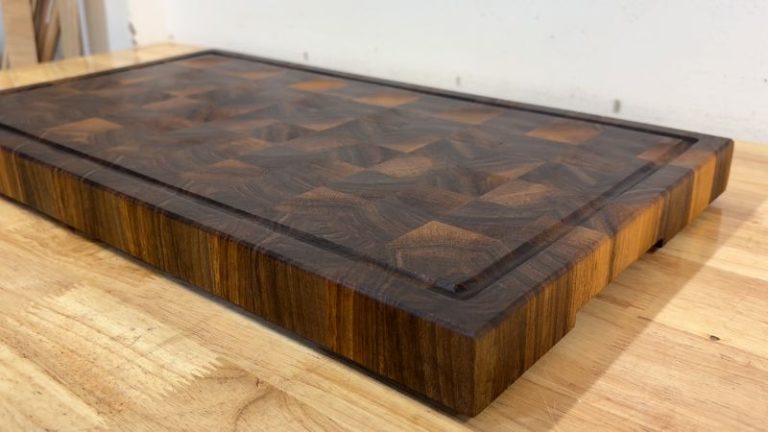
Chamfer (my default pick)
A chamfer gives you a crisp, clean edge that looks intentional — almost like a design detail instead of “just rounding it over.” It’s fast to cut, it looks great on both simple boards and nicer serving boards, and it’s easy to keep consistent once you dial in the bit height.
I’d choose a chamfer when:
you want a more modern, professional look
you like a clean line around the board
you want a profile that’s quick to route and easy to repeat
you’re okay with a slightly “sharper” feel compared to a roundover (still comfortable, just less soft)
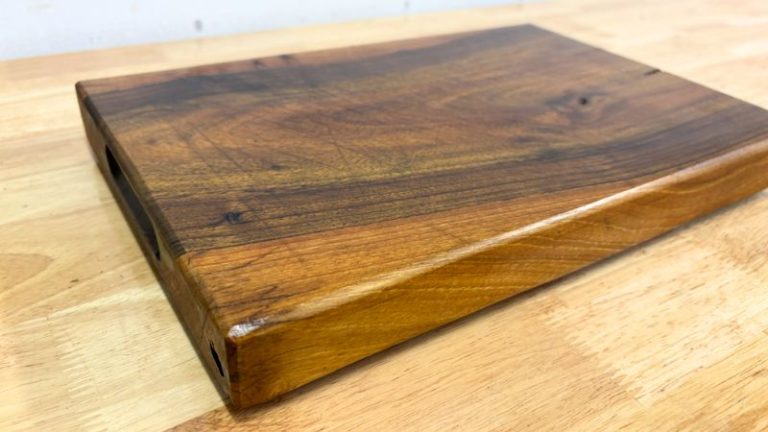
Roundover (classic and super comfortable)
A roundover is the standard cutting board edge for a reason. It feels great in the hand, it’s forgiving, and it blends beautifully after a quick sanding pass. If you’re making a board that’s going to be used every day, this is the safe, comfortable option.
I’d choose a roundover when:
you want the softest feel in the hand
you prefer a classic look
you want the most forgiving profile (especially if you’re new to routing)
you’re doing a board for heavy daily use and want that smooth “grab it anywhere” comfort
My simple recommendation:
If you want a slightly more “designed” look, go chamfer. If you want maximum comfort and a classic finish, go roundover. And either way — a light sanding pass at the end is what really makes the profile look clean.
Why Edge Profiles Matter on Cutting Boards
Edge profiles are one of those “small effort, big upgrade” steps. A sharp 90° edge might look fine right after sanding, but in real use it’s not that comfortable to grab — and corners are the first place that get dinged when the board gets moved around, bumped on the counter, or washed and dried over and over.
A simple chamfer or roundover fixes all of that. It makes the board noticeably more comfortable in the hand, especially when you’re lifting it, flipping it, or carrying it to the sink. It also helps protect the board long-term, because eased edges are less likely to chip, split, or splinter, and they don’t feel “sharp” even if the wood moves a bit with humidity.
And then there’s the look: adding a clean profile instantly makes the board feel more finished — almost like it was designed that way from the start. Even if the rest of the build is simple, a neat edge profile gives the board a professional, intentional finish without adding a bunch of extra steps.
Tools You Need to Round Edges on a Cutting Board
You don’t need a ton of gear to add a clean edge profile — but having a solid setup makes it a lot more enjoyable (and way more consistent). Once you dial it in, it’s one of those steps that just flows, especially if you’re doing more than one board.
The reason I’m mentioning handheld router vs router table is simple: it’s the same idea you’ll use not only for edge profiles, but also for handles and cutouts. You set up your router once, get the feel for it, and then you can run through boards quickly. Whether you do it handheld or on a router table, the payoff is that you don’t really need to change the whole setup — most of the time you’re just swapping bits.
Here’s what I use (and what I recommend):
Router (handheld or plunge router)
A handheld router works perfectly fine for edge profiles. If you’re comfortable with it, a plunge router can feel even more controlled when you’re setting bit height.Router table (optional, but the easiest way to get repeatable results)
For profiles, a router table is honestly the “cheat code.” The board stays flat, your hands are farther from the bit, and it’s much easier to keep the profile consistent around the whole perimeter.
👉 Benchtop Router TableChamfer bit and/or roundover bit
These two cover 95% of cutting board edges. If you’re only buying one to start, pick the profile you like most and get a decent-quality carbide bit.Sanding block + sandpaper (and also a solid alternative)
Even if you route the profile, a quick sanding pass makes it feel finished and blends everything together (especially on end grain corners). And if you just want to break the edges and don’t care about perfect precision, a sanding block alone works really well too.
👉 Sanding BlockBench cookies (makes handheld routing easier)
If you’re routing handheld, bench cookies are a simple upgrade — the board won’t slide around, and you can work the edges without fighting the workpiece.
Affiliate link: BENCH COOKIESClamps + a stable work surface
If you’re not using bench cookies, clamp the board down. A moving board is how you get uneven profiles (and scary moments).Scrap wood for test cuts
One quick test cut tells you if the profile is too big, too small, or exactly right before you touch the real board.
Quick note: If you’re routing end grain edges, plan on doing multiple light passes and a little sanding — that’s where profiles can tear out if you rush.
Router Bits for Cutting Board Edges (Chamfer Bit vs Roundover Bit)
For cutting boards, these are the two edge bits I use the most. They’re easy to control, they look great, and they instantly make the board feel more “finished.” You can run both handheld or on a router table — once your setup is dialed in, switching between them is basically just swapping the bit.
Chamfer bit (my preferred profile)
A chamfer gives you a crisp, clean line around the board. In my mind it looks a bit more designed and professional, and it’s also quick to route because you’re just creating a simple bevel.
Why I like it:
Modern, clean look (very “pro” with minimal effort)
Easy to keep consistent once the bit height is set
Great on both cutting boards and serving boards
Affiliate link (chamfer bit): CHAMFER BIT

Roundover bit (classic option)
Roundover is the traditional cutting board edge for a reason. It feels super comfortable in the hand, it’s forgiving, and it blends beautifully after a quick sanding pass.
Why it’s a great choice:
Soft, comfortable feel (especially for daily-use boards)
Very forgiving to route
Easy to “finish perfect” with sanding
Affiliate link (roundover bit): ROUNDOVER BIT

TIP: You don’t need a huge roundover radius for most boards — a small roundover (or a light chamfer) already makes a big difference.
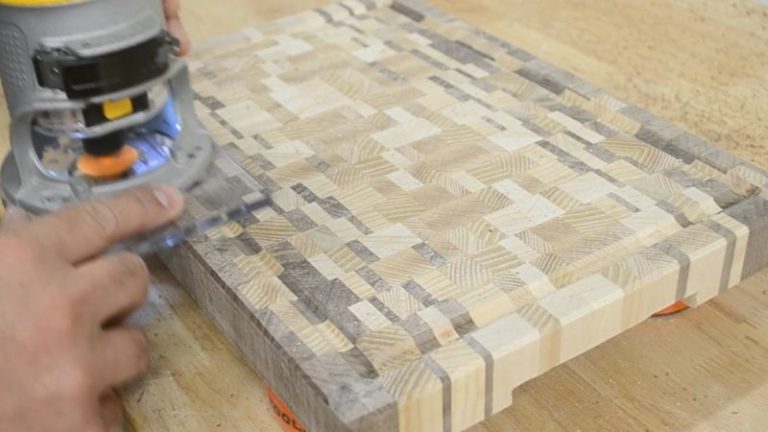
How to Cut Clean Edge Profiles (And Prevent Tear-Out)
Cutting a chamfer or roundover is pretty straightforward — the difference between “okay” and “perfect” is usually router direction, support, and pass depth.
Route direction: go counter-clockwise around the board
When you’re profiling the outside edge of a cutting board, you generally want to move counter-clockwise around the perimeter. The reason is simple: with a normal router rotation, this keeps the bit pulling the router into the work instead of trying to climb away from it. It feels more controlled, you’re less likely to lose your line, and you’ll get a cleaner profile.
(If you go the other way, the router can want to “run” along the edge — that’s where you get those little jumps and uneven spots.)
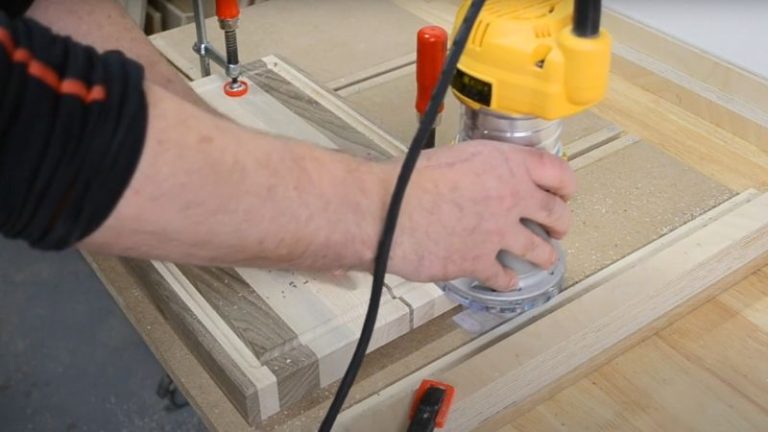
Router table vs handheld router (I use both)
I use whichever setup is already on the bench. The nice thing is you can cut both edge profiles and handles either way — handheld or on a router table — so once you have a setup you like, you don’t need to reinvent the process every time. Most of the time it’s just swap the bit and keep moving.
Router table: easiest for repeatable edges, stable board support, and consistent results
Handheld router: great when the board is large/awkward, or when it’s easier to bring the tool to the work

Light passes = cleaner cuts (and less tear-out)
This is the big one. Don’t try to route the full profile in one go. Take 2–3 light passes until you hit your final depth. It’s smoother, easier on the bit, and it massively reduces tear-out — especially on end grain corners.
Extra tear-out prevention tips (quick but effective):
Start with a test cut on scrap to dial in bit height
Keep the board fully supported (router table, clamps, or bench cookies)
On end grain corners, take it slow and don’t rush the feed rate
If you do those three things — counter-clockwise direction, stable support, light passes — your edges will come out clean and consistent almost every time.
How to Fix Burn Marks on Routed Edges
Burn marks usually come from one thing: too much heat. That happens when the bit is rubbing instead of cutting cleanly.
| What it is | Main cause | How to prevent it | How to fix it |
|---|---|---|---|
| Bit is rubbing instead of cutting | Too much heat from friction (common when feed is too slow or you pause) | Keep a steady feed rate and don’t stop mid-edge | Make a very light cleanup pass; if needed, sand the edge to blend the profile |
| Dull or dirty router bit | Pitch/resin buildup or worn cutting edges | Clean the bit regularly; use sharp carbide and don’t force heavy cuts | Clean the bit first; if burning continues, replace/sharpen the bit |
| Too deep of a pass | Bit struggles, heats up, and leaves burn marks (especially on hardwood) | Do 2–3 lighter passes to reach final depth | Back off the depth and take a light finish pass; then sand lightly if needed |
| Bit speed too high for the cutter size | Large diameter bits at high RPM generate more heat | Lower RPM for larger bits if your router has variable speed | Reduce speed and take a light cleanup pass; sand if burn marks remain |
Quick tip: If burn marks keep happening even with light passes and steady feed, it’s almost always a dirty or dull bit.
Wrap-Up: The Easiest Upgrade You Can Make to Any Cutting Board
If you ask me, adding an edge profile is the easiest “small step, big payoff” upgrade you can do on a cutting board. It doesn’t take long, it doesn’t require fancy tools, and it instantly makes the board feel more finished — both in your hands and on the bench.
My personal favorite is still the chamfer. I like that clean, crisp line around the board — it looks intentional and a bit more “designed” in my eyes. But the classic roundover is always a great choice too, especially if you want the softest feel for a board that gets used every day. Either way, a simple profile helps protect the edges, reduces the chance of little chips and splinters over time, and makes the board much nicer to grab, flip, and carry.
And the best part is: once you dial in your router setup, it becomes a quick repeatable step. A couple of light passes, a fast sanding touch-up, and the board suddenly looks like it came out of a proper shop.
If you want to make the whole cutting board process easier (flattening, juice grooves, handles, edge profiles — everything), here’s my full guide to the jigs I use:
👉 Best Jigs for Making Cutting Boards (And How to Use Them)
FAQs: Edge Profiles for Cutting Boards (Roundover vs Chamfer)
1) Is chamfer or roundover better for a cutting board?
Both work great — it mostly comes down to look and feel. I prefer a chamfer because it gives the board a clean, modern “designed” edge with very little effort. A roundover is the classic option and usually feels a bit softer in the hand, especially for daily-use boards.
2) What router bit should I use to round edges on a cutting board?
Use a roundover bit to create a rounded edge profile. You don’t need a huge radius — even a small roundover makes the board feel more finished. If you want a crisp bevel instead, use a chamfer bit.
3) How do I prevent tear-out when routing cutting board edges?
The easiest fixes are: take 2–3 light passes, keep the board fully supported, and slow down on the end grain corners. A test cut on scrap helps a lot too. Most tear-out happens when you try to cut the full profile in one pass or rush the corners
4) Why am I getting burn marks when routing the edge profile?
Burn marks are usually heat from friction — most often caused by a dirty/dull bit, moving too slowly, pausing in one spot, or taking too heavy a pass. Clean the bit, take lighter passes, and keep a steady feed rate. For larger bits, lowering RPM can help too.
5) Can I round over a cutting board without a router?
Yes. If you just want to break the sharp edges, you can do it with a sanding block and sandpaper. It won’t be as perfectly consistent as a routed roundover, but it’s a great option for quick boards, small bevels, or final blending after routing.
