
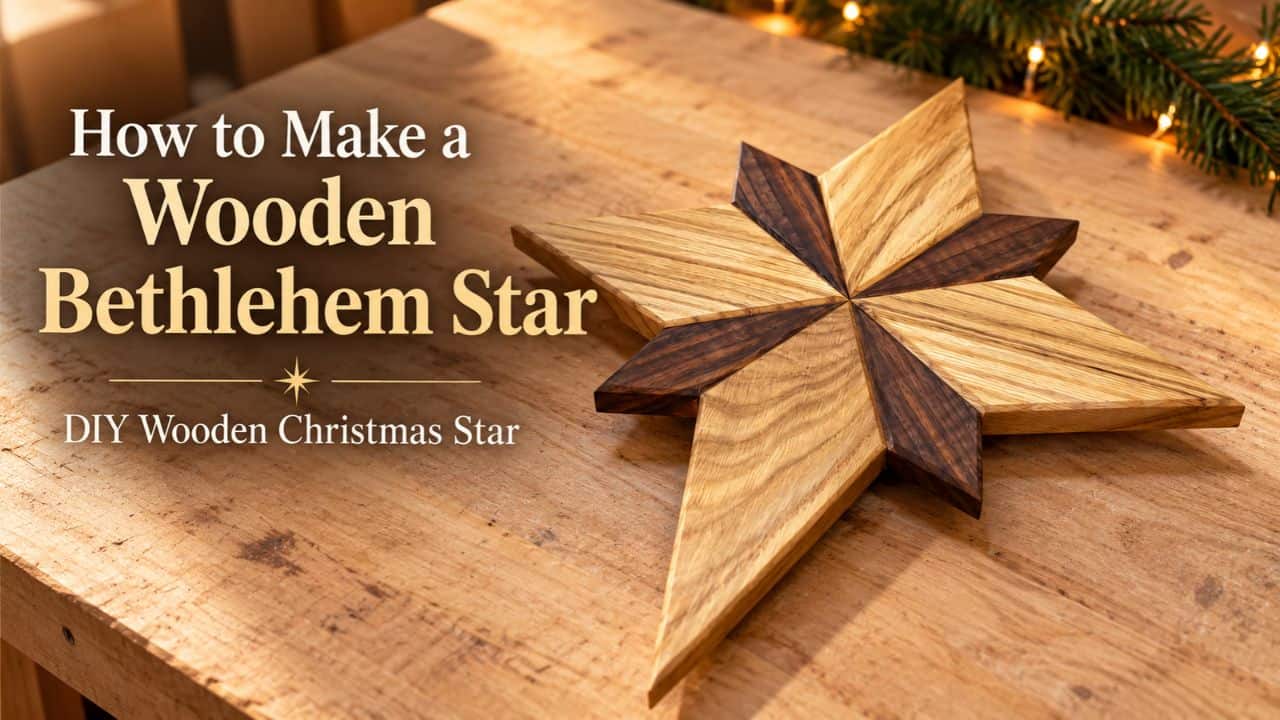
After making my 4-point, 5-point, and 6-point wooden stars, I wanted to try something a little different — a larger wooden Bethlehem star with a more distinctive shape.
Instead of using eight identical points, I made this star from two different woods and two different point sizes.
The larger oak pieces form the main cross, while the smaller walnut pieces fill the diagonal spaces between them. The lower oak point is also longer than the other three, giving the star its recognizable elongated Bethlehem-star shape.
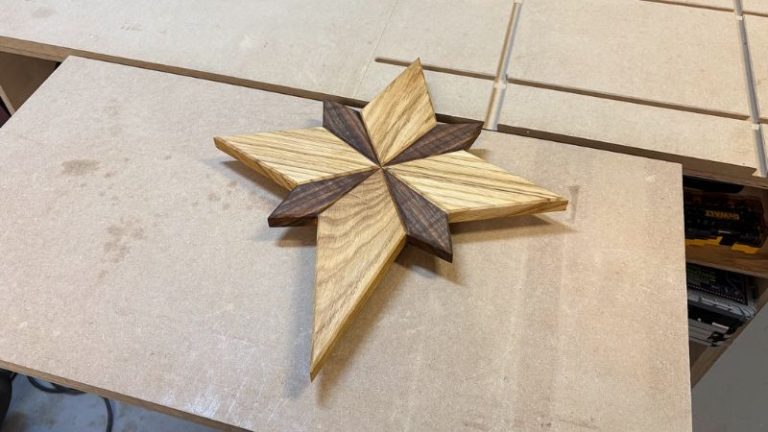
The finished star measures approximately: 420 × 370 × 18 mm (about 16-1/2 × 14-9/16 × 3/4 in)
It is a fairly substantial Christmas decoration, and I really like the contrast between the lighter oak and dark walnut. Once the oil goes on, that difference becomes even stronger.
The cutting process is very similar to the one I used in my How to Make a Wooden Star tutorial, but the geometry is different. This star still has eight points, but they aren’t all identical.
Instead:
- 4 oak pieces have a 60° center angle
- 4 walnut pieces have a 30° center angle
- Together: 4 × 60° + 4 × 30° = 360°
That difference is what gives this star its shape.
Table of Contents
- What Makes This Bethlehem Star Different?
- Wooden Bethlehem Star Size and Layout
- Materials and Tools
- Understanding the Angles
- Why Grain Direction Matters
- Let’s Start Building!
- Step 1: Prepare the Oak and Walnut Blanks
- Step 2: Cut the Oak Center Angles
- Step 3: Cut the Walnut Center Angles
- Step 4: Shape the Outer Points
- Step 5: Dry Fit the Star
- Step 6: Chamfer the Edges
- Step 7: Glue the Star Together
- Step 8: Sand and Finish
- How to Fix Small Gaps
- Wooden Bethlehem Star Plans
- Wrap-Up
- Frequently Asked Questions
*Safety is your responsibility. Make sure you know what you’re doing and take all necessary safety precautions while working with power tools. Safety comes first!
Materials and Tools
Tools
- Table saw – Link
- Table Saw Sled
- DIY Table Saw Angle Jig
- Router – Link
- Digital Angle Finder – Link
- MicroJig Matchfit – Link
- MicroJig Dovetail Clamps – Link
- Chamfer router bit – Link
- Table saw blade – Link
- Push block – Link
- One-hand clamps – Link
- Benchtop Router Table
- DIY Sanding Block
✅ Check all the tools I use here
I planed the boards before cutting, but that is not essential. If you want a more rustic star, leaving a little natural texture can actually work very well
As an Amazon Associate, I may earn from qualifying purchases at no extra cost to you.
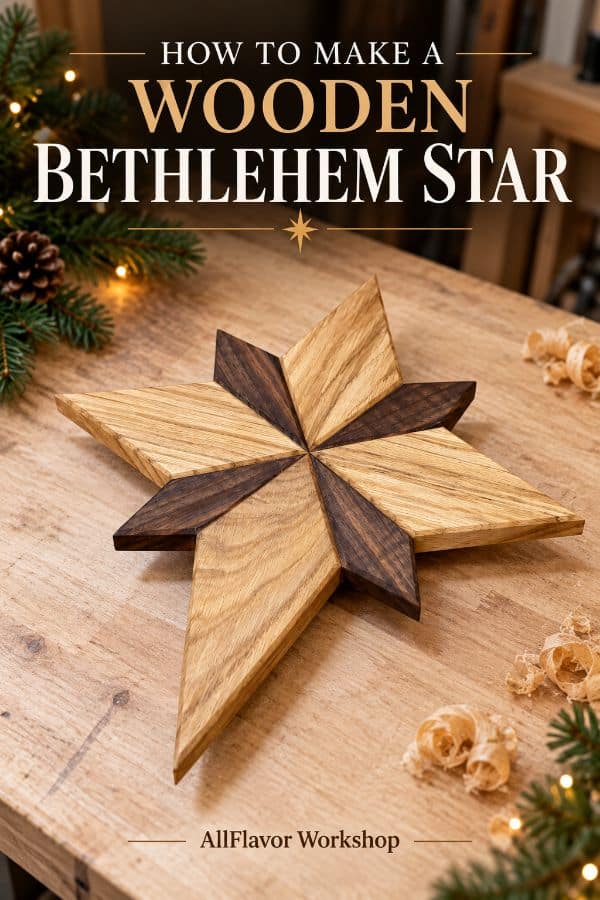
📌 Save THIS PIN to your Board on Pinterest!
What Makes This Bethlehem Star Different?
At first glance, you could simply call this an 8-point wooden star. But it is different from a regular symmetrical 8-point star where every segment is identical.
Here I use: 4 larger oak points and 4 smaller walnut points
The oak pieces form the main vertical and horizontal shape. Three of those oak points are similar in length, while the lower one is longer.
The walnut points sit diagonally between them. That creates a more decorative, directional shape rather than a perfectly symmetrical eight-point star.
It also means the angle calculation is different from the equal-point stars covered in my Wooden Star Angles guide.
Wooden Bethlehem Star Size and Layout
My finished star measures approximately 420 × 370 × 18 mm (about 16-1/2 × 14-9/16 × 3/4 in). I used 18 mm thick oak and walnut.
The starting blanks were approximately:
1. Oak
- Shorter blanks: 3 × 90 × 200 × 18 mm (about 3-9/16 × 7-7/8 × 3/4 in)
- Longer blank (extended lower point): 1 × 90 × 240 × 18 mm (about 3-9/16 × 9-7/16 × 3/4 in)
2. Walnut
- 4 × approximately 50 × 140 × 18 mm (about 2 × 5-1/2 × 3/4 in)
The pieces do not need to follow these exact dimensions if you want a smaller or larger star. The important part is keeping the proportions consistent and getting the center angles accurate.