If you’ve ever built a woodworking jig that didn’t quite work out, you’re not alone. I’ve built dozens of jigs over the years — some turned into workshop staples, others got scrapped or rebuilt within days. It’s all part of the process.
Jigs are meant to make your work faster, safer, and more accurate. But if the design is off, the setup takes too long, or it doesn’t hold your workpiece right, it ends up doing the opposite. Most jig issues come down to a few repeatable mistakes — and the good news is, they’re easy to avoid once you know what to look for.
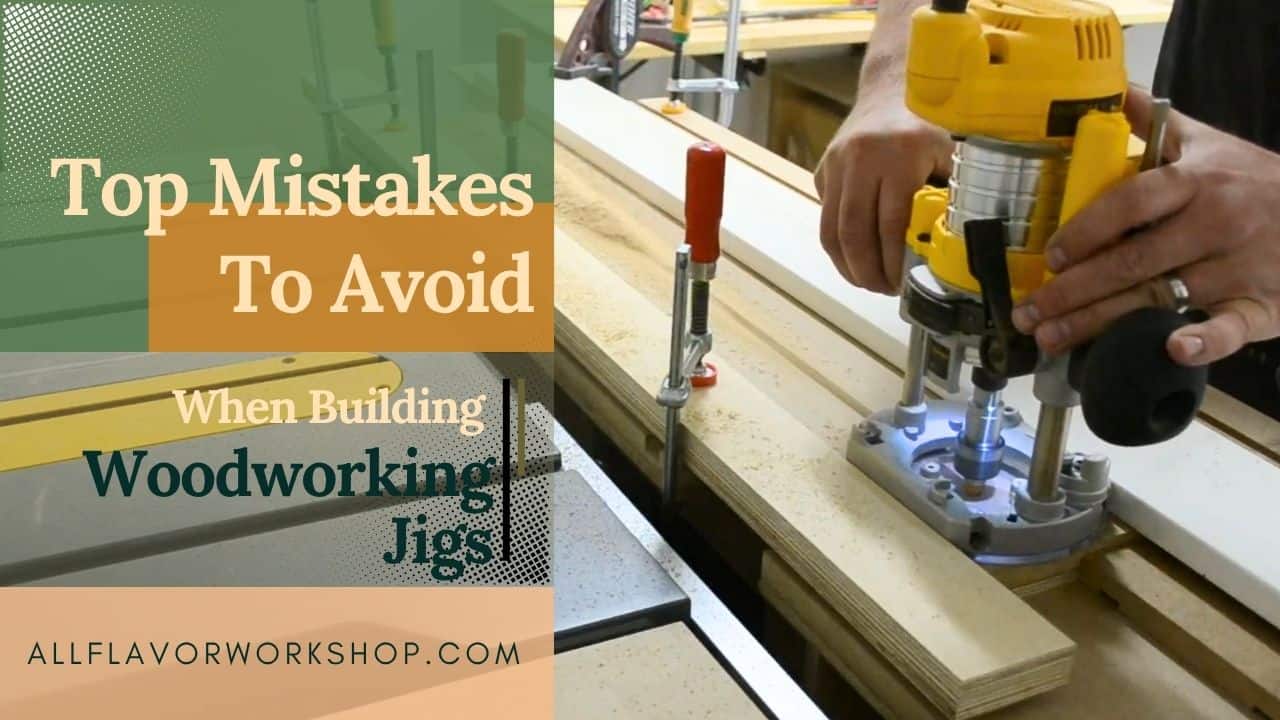
In this post, I’ll walk you through the most common woodworking jig mistakes I’ve seen (and made), and how to fix or avoid them. Whether you’re building a router jig, crosscut sled, circle guide, or clamp, these tips will help you get better results — and enjoy using your jigs more.
Most of the jigs I use today have been refined over time — and if you want to skip the trial-and-error, many of them are available as downloadable plans.
📌 Save THIS PIN to your Board on Pinterest!

Common Mistakes When Building Jigs
1. Not Having a Design or Sketch
One of the biggest mistakes — even experienced woodworkers make this — is jumping straight into the build without a plan. It’s easy to get excited about an idea and start cutting, but without even a rough sketch, it’s just guesswork. You might get halfway through the build and realize something doesn’t fit, parts interfere with each other, or the jig just doesn’t function as intended.
I’ve been there. And I’ve scrapped jigs that were nearly finished because I didn’t stop to think it through on paper first.
Even a hand-drawn sketch helps. A quick outline of how the jig will work, what parts need to move, where the workpiece goes — it all makes a difference. If you want to go further, a basic CAD drawing or SketchUp model helps you catch potential issues before you start cutting wood.
The more detailed your design, the easier the build. You’ll know how everything fits together, how the jig will function, and most importantly — why you’re building it that way.
Building with a purpose saves time, materials, and frustration.

2. Accuracy & Layout Mistakes
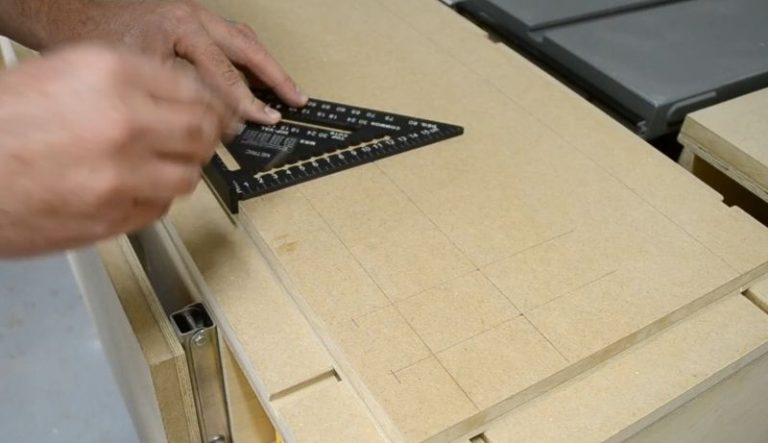
1. Eyeballing Measurements or Layouts
It’s tempting to mark by eye when the cuts seem “close enough,” especially on simple jigs. But even a 1–2 mm error can throw off repeatability or ruin precision joinery.
✅ What to do instead:
Always use a marking gauge, square, or ruler guide when laying out cuts and holes. I often use my ruler marking gauge for this — it’s fast and consistent.
2. Misaligned Guide Rails or Fences
If your jig’s guide rail or fence isn’t square or parallel, every cut it guides will be slightly off. This is especially frustrating on crosscut sleds, dado jigs, or circle jigs.
✅ What to do instead:
Double-check alignment before assembly using a combination square or test cuts. A good rule: if the test piece feels “off,” the jig probably is too.
3. Material & Hardware Mistakes
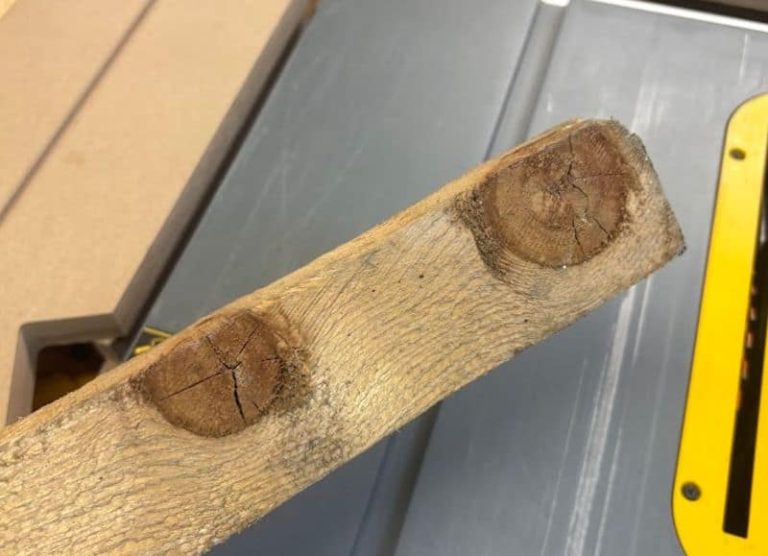
1. Using the Wrong Type of Wood
It might be tempting to grab whatever scrap wood you have lying around, but not all materials are good for jigs. Softwoods like pine dent easily and can throw off accuracy. Cheap plywood often has voids, warps, or weak glue layers that won’t hold up.
✅ What to do instead:
Use stable materials like Baltic birch plywood, MDF, or HDF — they’re flat, strong, and predictable. I use Baltic birch for anything structural and MDF for baseplates or sliding parts.
🔗 Want more detail? Check out my guide on the best materials for woodworking jigs — I break down what to use (and what to avoid) based on years of hands-on use.
2. Using Uneven or Warped Materials
Even if you pick the right type of wood, if the piece is warped or cupped, your jig won’t stay flat — and your results will suffer. Warped parts twist over time, especially with exposure to humidity or pressure from clamping.
✅ What to do instead:
Always start with flat, straight boards. Check your material before cutting and avoid offcuts that have been sitting around under tension.
3. Skipping Quality Fasteners or Hardware
Loose bolts, mismatched screws, or low-quality knobs can turn even a well-designed jig into something unreliable. Poor hardware choices often cause slop or wear out quickly.
✅ What to do instead:
Use proper T-nuts, threaded inserts, and wooden or plastic knobs where adjustments are needed. They hold better, last longer, and give you more control.
4. Adjustability & Fit Mistakes
1. Making a Fixed Jig When Adjustability Would Help
Sometimes it makes sense to keep a jig simple and fixed. But for jigs you’ll use repeatedly — like dado jigs, circle guides, or template jigs — being able to adjust dimensions can save a ton of time and material later on.
✅ What to do instead:
When possible, build in T-tracks, sliding fences, or even just slots with knobs. Adjustable parts help you reuse one jig for multiple projects, material sizes, or bit widths.
2. Misaligning Moving Parts or Pivot Points
If parts of your jig are meant to slide, pivot, or clamp in different positions, they need to be aligned correctly — or the whole jig won’t work right. Misaligned slots or asymmetrical movement often shows up in circle jigs, mortising jigs, or router sleds.
✅ What to do instead:
Take your time during layout and test movement before you lock anything down. I often mark the travel range first, then add stoppers or knobs last.
3. Forgetting to Account for Bit or Blade Clearance
Even well-built jigs can fail if the tool doesn’t reach the workpiece properly. This often happens when the router base is too thick, or the workpiece is too far from the bit path. It’s easy to overlook — until you’re halfway through a cut and the depth just isn’t there.
✅ What to do instead:
Double-check your design for tool clearance — especially plunge depth or blade exposure. I usually mock this up with the bit installed before final assembly, particularly on jigs made with MDF or plywood baseplates.
5. Clamping & Safety Mistakes
1. Not Building in a Way to Secure the Jig
If the jig slides, lifts, or shifts during a cut, it’s not just annoying — it can be dangerous. I’ve seen jigs slip mid-cut because they weren’t clamped down or didn’t have a built-in way to hold position.
✅ What to do instead:
Design your jigs with flat bases for clamping, or add notches or dedicated clamp points where you need them. If a jig is meant to stay in place during use, treat secure hold-downs as a design feature — not an afterthought.
2. Forgetting About Workpiece Support
Sometimes the jig is solid, but the workpiece itself wobbles or rocks because it’s not supported correctly. This leads to uneven cuts, kickback, or even damaging the jig.
✅ What to do instead:
Add fences, stops, or vertical support pieces to help guide or hold your workpiece. In some cases, a simple backer board behind the cut area prevents tear-out and gives you a more stable result.
3. Ignoring Safe Hand Placement and Bit/Cut Path
It’s easy to focus so much on the jig design that you forget where your hands will actually be during use. If a clamp or knob is too close to a spinning bit or blade, you’re creating a risk.
✅ What to do instead:
Think through your cut before finalizing the build. Where are your hands? Is there clearance? Is the bit fully guarded? Good jigs not only improve accuracy — they also keep your fingers safe.

6. Overcomplicating Simple Jigs
1. Adding Too Many Features You Don’t Need
It’s easy to fall into the trap of over-engineering a jig — adding stops, knobs, sliding parts, or multiple modes of use, “just in case.” But all that complexity can make the jig harder to build, slower to set up, and more frustrating to use.
✅ What to do instead:
Start with a clear purpose: what exactly do I need this jig to do? Then design around that. You can always upgrade later. Some of my most-used jigs are dead simple — they just do one thing really well.
2. Trying to Make One Jig Do Too Much
Multi-purpose jigs sound great, but in practice, they often do nothing well. A jig that’s meant to be a router sled and a dado guide, and a tapering jig usually ends up being bulky, awkward, or inconsistent.
✅ What to do instead:
Build for one task, then repeat or modify the design if you need a variation. That way, each jig is fast, predictable, and easy to repair or replace if needed.
Summary Table: Common Jig Building Mistakes and Fixes
| Mistake Category | Common Mistake | What to Do Instead |
|---|---|---|
| Planning & Design | No sketch or layout before building | Start with a drawing or CAD plan to think through the design |
| Accuracy & Layout | Eyeballing measurements | Use squares, gauges, and rulers for precise layout |
| Misaligned guide rails or fences | Align with test cuts or measuring tools before final assembly | |
| Material & Hardware | Using softwood or cheap plywood | Use Baltic birch, MDF, or HDF for flat, stable parts |
| Using warped or uneven pieces | Start with flat, high-quality boards | |
| Low-quality knobs or fasteners | Use proper inserts, T-nuts, and hardware | |
| Adjustability & Fit | Building jigs with no adjustability | Add sliding parts, slots, or T-tracks where needed |
| Misaligned moving or pivoting parts | Pre-test movement and measure evenly before tightening | |
| Forgetting bit/blade clearance | Check plunge depth or tool reach before finalizing the build | |
| Clamping & Safety | No built-in way to secure the jig | Add clamp-friendly surfaces or fixed hold-downs |
| Workpiece is unstable or unsupported | Add fences, vertical supports, or backer boards | |
| Unsafe hand positions or tool paths | Think through the cut and hand placement in advance | |
| Overengineering | Adding too many unnecessary features | Build for the exact function; keep it simple |
| Trying to make one jig do too many jobs | Make task-specific jigs that are repeatable and efficient |
How to Test and Tune Your Jig
Even with a solid design and careful build, most jigs still need a little fine-tuning before they’re ready for real work. Here’s how I test mine and dial them in.
1. Start With Scrap
Always run a few test cuts on scrap wood — ideally the same thickness and material as your actual workpiece. This shows you if the jig is cutting square, if the bit is centered, or if there’s unwanted movement.
I rarely go straight to a project without doing a few dry runs first — scrap tells you everything.
2. Check for Squareness and Symmetry
Whether it’s a router jig, clamping jig, or crosscut sled, use a square or measuring tape to check key alignments:
- Are fences 90° to the base?
- Are slots centered?
- Are distances consistent on both sides?
Small alignment errors add up fast, especially on joinery jigs.
3. Adjust Travel and Stops
If the jig includes sliding parts, stops, or pivot arms, make sure:
- There’s no slop or wiggle
- Stops land exactly where they should
- Movement is smooth, but tight enough to hold position
Even simple adjustments — like repositioning a wing nut or sanding a tight edge — can make a big difference.
4. Watch How the Tool Moves
Test how your router, saw, or drill moves within the jig:
- Does it glide cleanly across the guide?
- Can it reach the cut area comfortably?
- Are any knobs, clamps, or handles in the way?
Make sure the motion is smooth and controlled — you shouldn’t be fighting the jig to get the result.
5. Keep Notes for Next Time
If a jig works really well (or doesn’t), I often jot down a few notes directly on the jig itself — like “great for 12 mm plywood” or “bit center = 15 mm from edge.” That way, the next time I pull it out, I’m ready to go.
💡 Tip: Most of the jigs I build and test go into full downloadable plans — with cutting diagrams, materials, and both metric and imperial measurements.
👉 If you’re looking for designs that are easy to build and get right the first time, check out the plans section here.
Final Thoughts
Building your own jigs takes time, and sure — you’ll make a few mistakes along the way. But that’s part of the process. Every jig I’ve built taught me something new, and the more I use them, the more I refine how I build the next one.
A good jig can save you hours, improve your results, and make repeatable work actually enjoyable. And honestly? I just like building them. They’re one of the most satisfying parts of woodworking — functional, clever, and custom-made for how you work.
If you’re just getting started, keep it simple. Sketch your design, choose solid materials, and think through how the jig will actually be used. And when you’re ready to go further, check out the downloadable plans — they’re all jigs I’ve built and tested in my own small workshop.
Routers, saws, clamps — they all benefit from better jigs. And once you start building your own, it’s hard to stop.
Frequently Asked Questions
What materials should I use to build woodworking jigs?
I usually go with Baltic birch plywood, MDF, or HDF for jig bases and structures — they’re flat, stable, and easy to machine. Avoid softwood or warped pieces — they’ll introduce errors.
Do I need to use CAD software to design jigs?
Not at all. A simple pencil sketch on paper is often enough to help you work out dimensions, layout, and functionality. But if you like using SketchUp or Fusion 360, they’re great for visualizing complex builds.
How do I test a jig before using it on a real project?
Run a few passes on scrap wood first. Check for squareness, fit, tool movement, and whether stops or adjustable parts hold properly. Small tweaks at this stage make a big difference.
Can I make jigs that work for both hand-held and table-mounted tools?
Yes — many jigs (like dado jigs or template guides) can be designed to work with both plunge routers and hand-held tools. Just make sure to design around the bit depth and base size. When I build jigs for my router table, I add stops and fences that match my table layout.
What are some essential jigs I should build first?
If you’re new to jig building, I recommend starting with:
- A crosscut sled for your table saw
- A router dado jig
- A circle cutting jig
- A simple clamping jig
These cover 90% of my everyday workshop tasks.
