
If you’ve ever had offcuts and boards slowly taking over your workshop, this cart is a simple fix. I built this DIY lumber storage cart as a compact, roll-anywhere storage solution for a smaller shop — it keeps cutoffs and longer pieces in one place, and you can move it wherever you’re working and lock it in position.
The cart is made from pine (and you can absolutely use scrap sheets and leftover boards you already have). There’s no need for “nice” wood here — it’s a workshop tool. I also built it so it can be taken apart later: no wood glue, just screws, so I can disassemble it or tweak the layout if I ever want to.
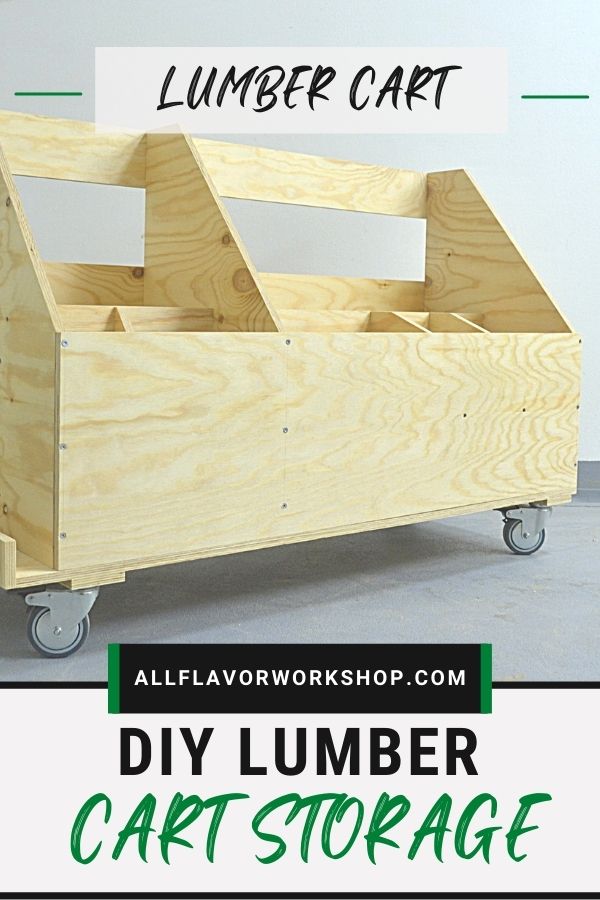
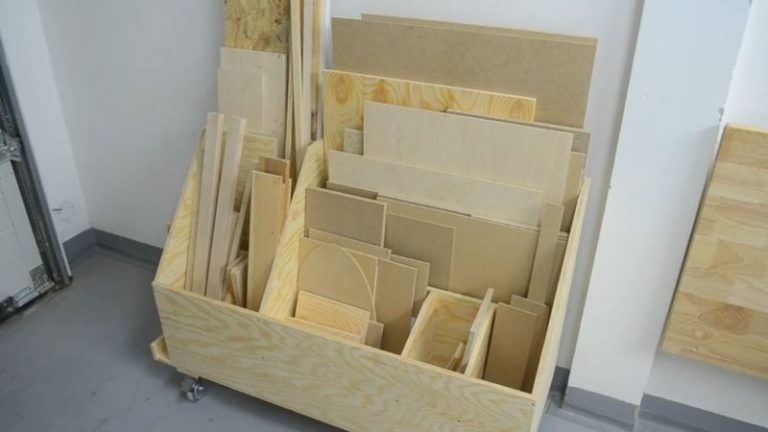
The overall dimensions are 106.5 cm long × 40.5 cm wide × 72.5 cm high (including casters). Inside, it has 5 storage boxes: three smaller bins in the front for cutoffs, one larger bin in the back for bigger pieces (up to about 60 cm wide), and a side compartment for longer narrow pieces. On the bottom I used four heavy-duty locking casters, so it rolls easily and stays put when needed.
If you want more workshop builds and jigs like this (with all my free and paid plans in one place), you can find them here: 👉 Woodworking Plans (All Projects)
Video: Watch the Build
If you prefer to follow along visually, here’s the full build video — I’ll show the key steps, the layout of the boxes, and the small details that make the cart stable and easy to roll.
I appreciate every YouTube subscriber. It’s free and easy to subscribe to — just Click Here To Subscribe. Thank you!
Woodworking Plans (Coming Soon)
I’m currently working on clean, printable plans for this lumber storage cart — I’ll add them here as soon as they’re ready.
Materials and Tools Needed
Here’s everything I used for this build — pine boards/sheets, screws, casters, and the main tools that made the cuts and assembly quick and accurate.
Wood
- Pine plywood
Hardware
- Wood Screws
Other Materials
- Caster Wheels — https://amzn.to/3Od2Qki
- Tape Measure — https://amzn.to/48rmFMU
- Sanding Discs — https://amzn.to/4aGaY6r
- Drill Bits — https://amzn.to/48Kaaf7
- Hardware Assortment Kit — https://amzn.to/41PodgQ
- Ruler Marking Gauge — https://amzn.to/47GZbC3
Tools:
- Circular Saw — https://amzn.to/4aMD0xg
- Table Saw — https://amzn.to/47mWiGf
- Orbit Sander — https://amzn.to/48G9cjL
- Hand Drill — https://amzn.to/3HqLEnH
- Table Saw Blade — https://amzn.to/48maocv
- Push Block — https://amzn.to/3vjQSP7
- Speed Square — https://amzn.to/3RO67Hy
- F-Clamps — https://amzn.to/48ArzY1
- Right Angle Clamps — https://amzn.to/3vPpHf8
- One Hand Clamps — https://amzn.to/48jGxkZ
- Piher Quick Clamps — https://amzn.to/48rmFMU
- Large L Angle — https://amzn.to/4aGaT2D
✅ Check all the tools I use here
Affiliate note: Some links in this post may be affiliate links — they don’t cost you anything extra, but they help support the builds and free guides on AllFlavor Workshop.
📌 Save THIS PIN to your Board on Pinterest!
Cart Layout and Capacity (What Fits Where)
Before you start cutting, it helps to think about what you actually want to store. This cart is designed for a smaller workshop, so the layout is all about keeping things sorted without taking up a lot of floor space. The front boxes are for small cutoffs you grab all the time, the back box is for larger pieces and short sheets (up to about 60 cm wide), and the side compartment is for longer narrow stock like sticks and strips.
If you want to customize it, the easiest tweaks are the box heights and the side compartment width — you can adapt those to the offcuts you generate most. Just keep the heavy stuff lower in the cart so it stays stable on the casters.
Let’s Start Building!
This is a quick build — you can realistically assemble it in a day if you have the wood cut and ready. I’ll go step-by-step through the frame, the storage boxes, and the caster base, and I’ll point out the few spots where spacing and squareness matter most so the cart rolls straight and everything fits cleanly.
How to Make a DIY Lumber Cart
Step 1: Build the Cart Base (Base Panel + Back Supports)
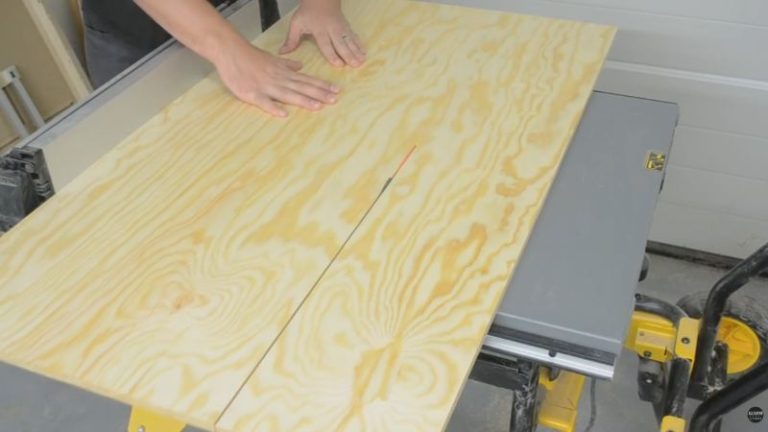
I started by marking out the base panel and cutting it to 105 × 40 cm on the table saw. Then, using the table saw again, I cut two uniform strips: one for the back bottom support and one for the back top support (these will stiffen the back and help tie the cart together).
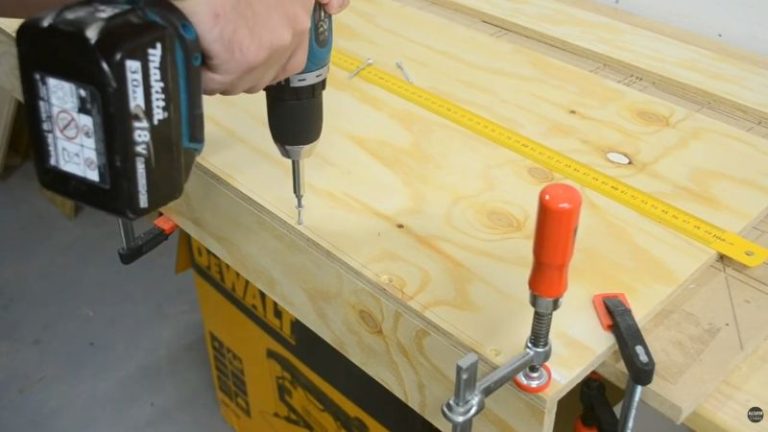
To attach the back bottom support, I clamped it in place first to keep everything aligned, then rotated the base so I had access from underneath. After that I screwed it in from the bottom. I’m not using glue anywhere on this build — just screws — because I want the option to disassemble the cart later if I ever need to modify it or move it.
Tip: Pre-drill your screw holes and countersink/flush the heads. It prevents splitting and keeps the bottom surface smooth so the cart sits flat on the casters.
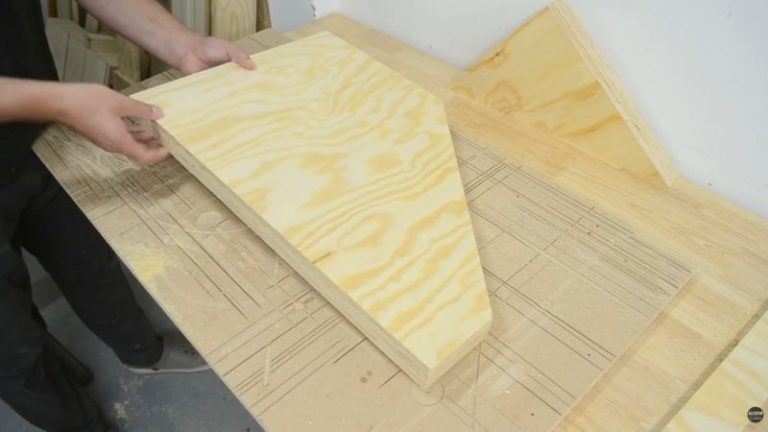
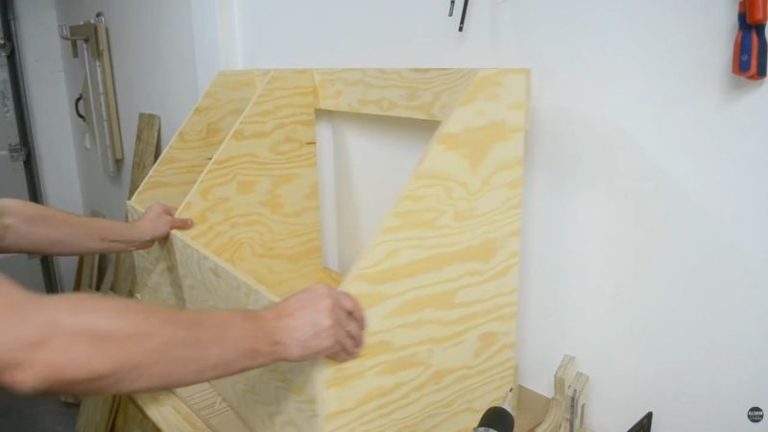
Step 2: Cut the Inner Dividers + Start Building the Boxes
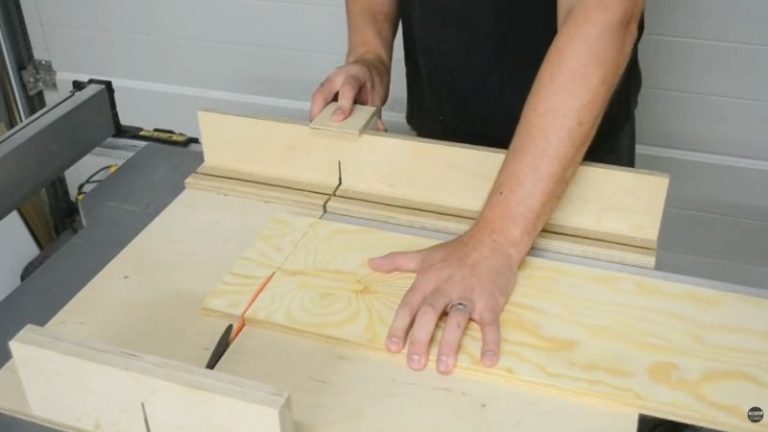
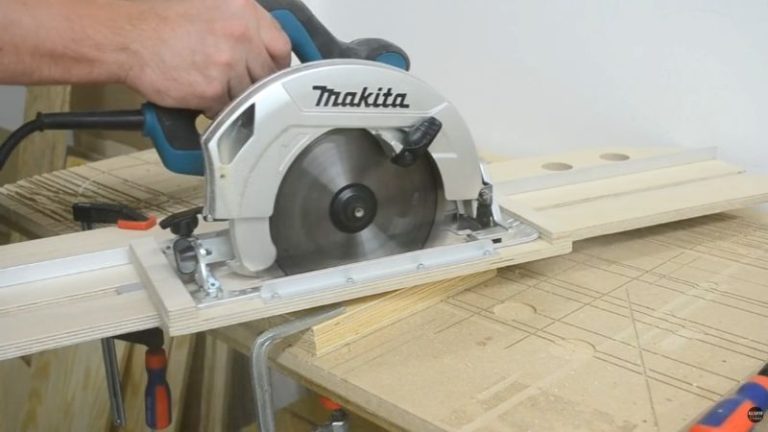
Next I cut the inner stands/dividers to size. Most cuts were done on the table saw, and for the angled cut I used my circular saw with a straight edge guide to keep it clean and repeatable.
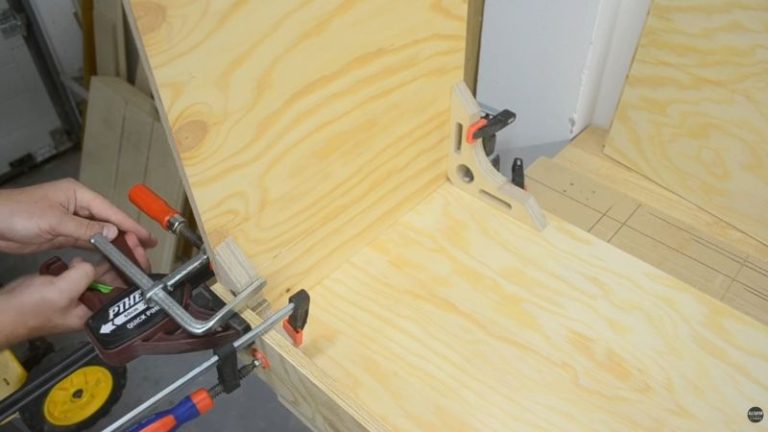
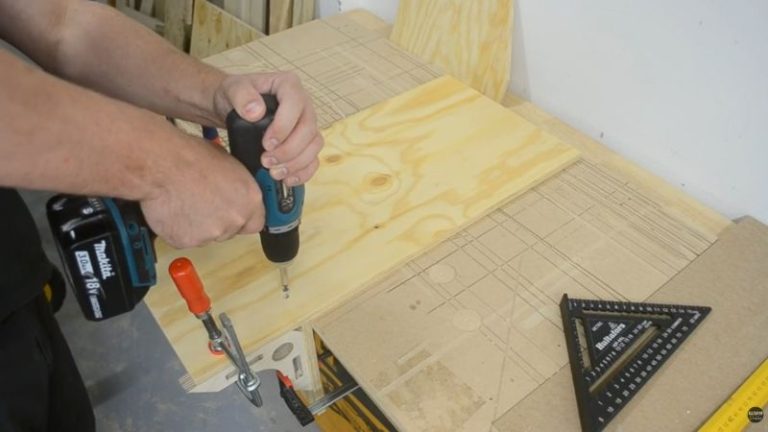
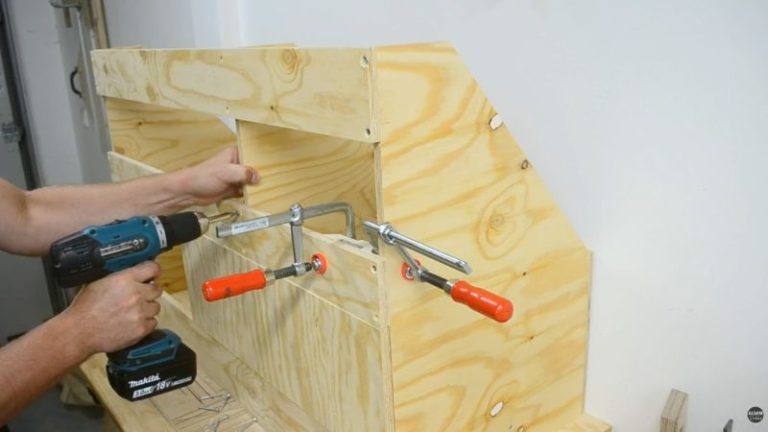
Once the dividers were ready, I positioned them on the base and used corner clamps to hold everything in place while I fastened them. Just like the base, I’m using screws only (no glue), so I predrilled all holes and made sure the screw heads sit flush. I repeated the same process for all three dividers: clamp → check alignment → predrill → screw into the base and the back bottom support.
After that, I rotated the workpiece and attached the back upper support. At this point I only secured the outer dividers — I left the middle divider loose for now so I could fine-tune spacing before locking everything in.
Note: Leaving the middle divider loose for a moment is a good move. It’s easier to fine-tune spacing now than to fight it after everything is fully screwed down.
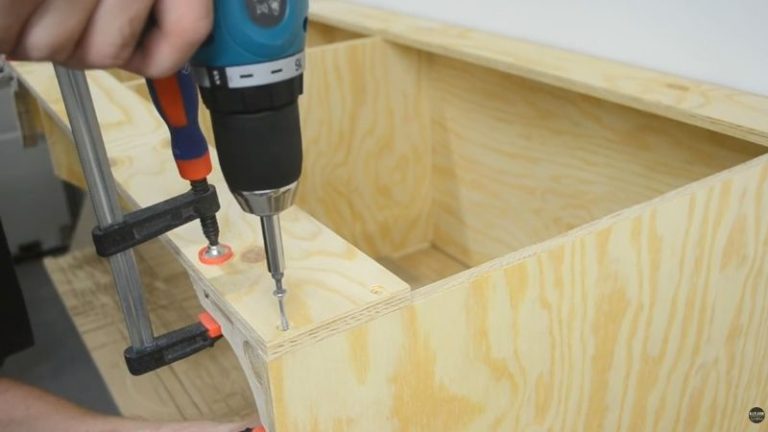
Step 3: Attach the Front Panel (Close the Case)
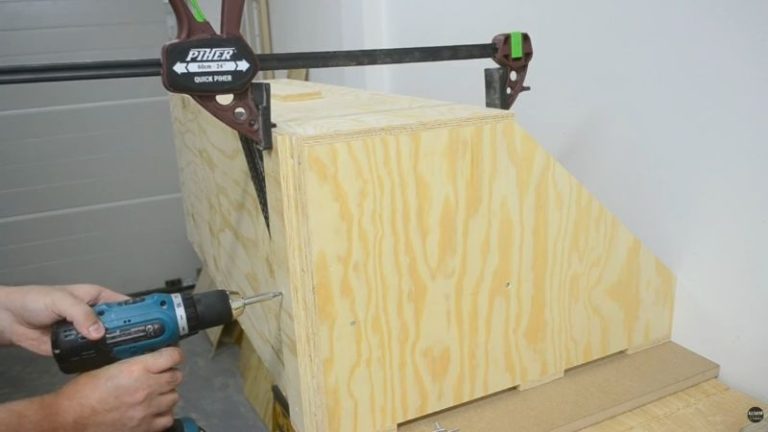
This step is pretty straightforward. I cut the front panel to 100 × 28 cm using my table saw sled, positioned it on the front of the cart, and clamped it in place so it couldn’t shift. Then I predrilled and screwed it on — same approach as before: no glue, just screws, with the heads sitting flush.
Once the front panel is attached, the main “case” of the cart is basically done and everything starts to feel solid.
Tip: Clamp the panel tight and check it’s sitting flush before you drive screws — if it creeps even a few millimeters, the whole front can end up slightly skewed.
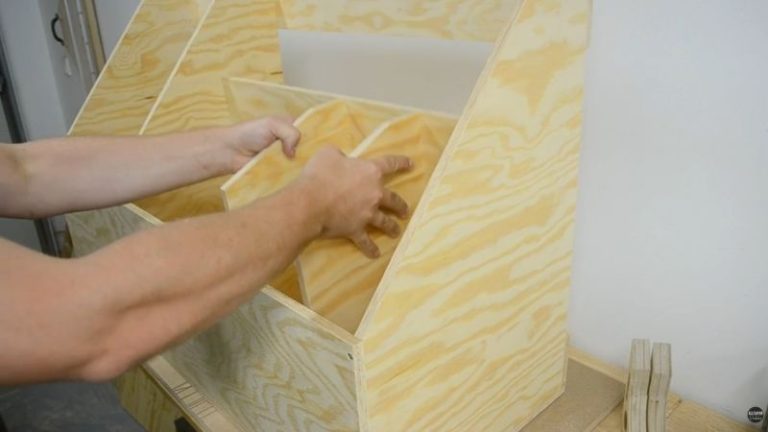
Step 4: Build and Install the Inner Dividers (Box Components)
Now I made the inner divider pieces that form the actual storage “boxes.” I cut everything to size using my crosscut sled for repeatable square cuts, and a straight edge guide where it helped keep longer cuts clean.
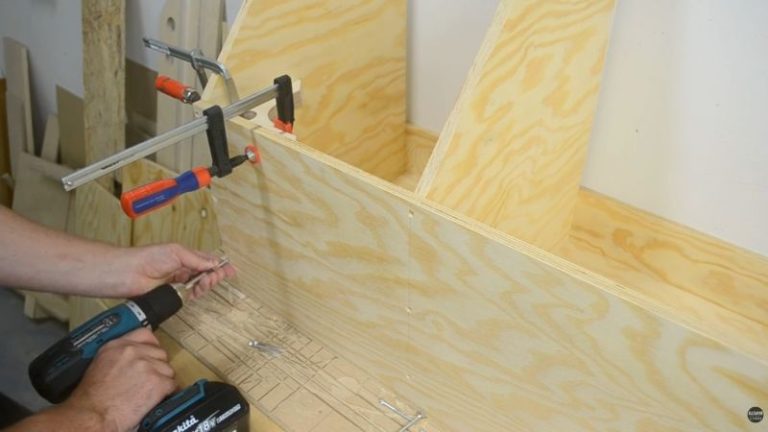
Instead of assembling everything inside the cart piece-by-piece, I built two divider components first: I attached the dividers to the back supporting panel with screws, which gave me two solid “modules.” Then I slid those modules into the cart case and fastened them from the sides with screws.
This is also the moment where it really helps that I left the center divider loose earlier — you can fine-tune the spacing so everything fits nicely before locking it in.
On top of that, I added one more back support. It stiffens the cart, but it’s also practical: it gives stored boards a back “stop” so pieces don’t slide or fall out the rear of the cart.
At this point the cart is basically done — the only thing left is adding the casters.
Tip: Pre-assemble divider “modules” outside the cart if you can. It’s easier to keep everything square on the bench than fighting alignment inside the case.
Step 5: Install the Casters (Reinforce + Roll and Lock)
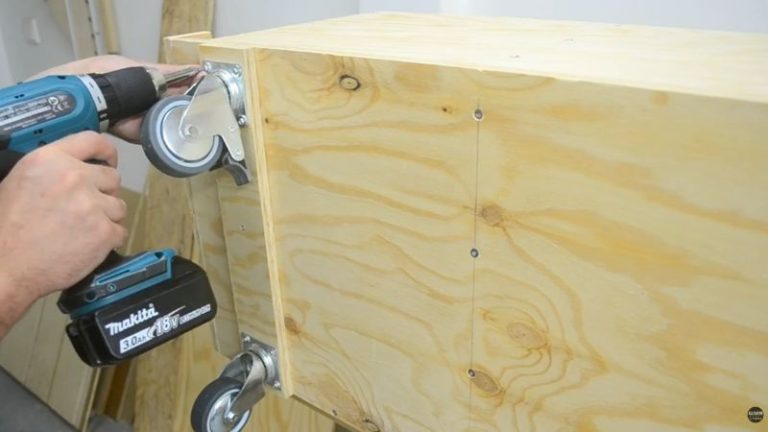
For the last step, I turned the cart upside down and added two reinforcing wooden strips to the bottom. These give the casters more material to bite into and help spread the load, especially once the cart is full of wood.
After that, I mounted the casters onto the reinforcing strips. I used locking casters (with arretation) on the front so I can lock the cart in place when needed. The back casters don’t have locks — the back side is usually against a wall anyway, so I don’t really have easy access there. (If you want, you can absolutely use locking casters on all four corners.)
At this point the cart is finished. If you want to make it a little nicer to use, this is also a good moment to do a quick sanding pass and break the sharp edges.
Tip: If you’re storing heavier boards, don’t cheap out on casters. A cart like this is only as good as its wheels — go for heavy-duty casters that roll smoothly and don’t flex under load.
Wrap-Up: A Simple Build That Makes Your Shop Feel Bigger
This is a pretty simple project, but it’s one of those workshop builds that pays off immediately. If you do any woodworking at all, you’ll end up with a constant pile of offcuts, strips, and “maybe I’ll need this later” pieces — and without a place for them, they just spread across the shop. This cart fixes that by giving everything a home and keeping your floor and benches a lot cleaner.
I also like that it’s built with screws only — no glue — so if you ever want to change the layout, move it, or rebuild it later, you can disassemble it without destroying the cart. And with the heavy-duty casters, you can roll it wherever you’re working and lock it in place when needed.
If you’re building up your workshop, this is one of those “must-have” projects that’s especially useful early on — it helps you stay organized while you’re still collecting tools, materials, and building more shop storage.
If you want more projects like this (jigs, workshop builds, and downloadable plans), you can find everything in one place here: 👉 Woodworking Plans (All Projects)
FAQs: DIY Lumber Storage Cart
1) What is the best wood to use for a DIY lumber storage cart?
You don’t need expensive wood for this build. Pine, construction lumber, or leftover plywood/scrap sheets work great because the cart is a workshop tool, not furniture. The most important thing is solid screw joints and stable casters.
2) Should I use wood glue when building a lumber cart?
You can, but you don’t have to. I built this cart with screws only so it can be disassembled later if I want to modify the layout or move it. If you want maximum rigidity and never plan to take it apart, glue + screws is also a good option.
3) What casters should I use for a lumber cart on wheels?
Use heavy-duty casters rated for the weight you expect to store. Locking casters are worth it — at least on the front — so the cart stays put while you load and unload boards.
4) How do I keep a rolling lumber cart from tipping over?
Keep the cart low and stable: store heavier boards in the lower compartments, don’t overload one side, and use casters that don’t flex. A wider base and good caster placement also make a big difference.
5) What should I store in a lumber storage cart?
These carts are great for sorting: long narrow pieces on the side, medium boards in the main compartments, and small offcuts up front where you can grab them easily. The goal is keeping scraps organized so they don’t pile up around the shop.
